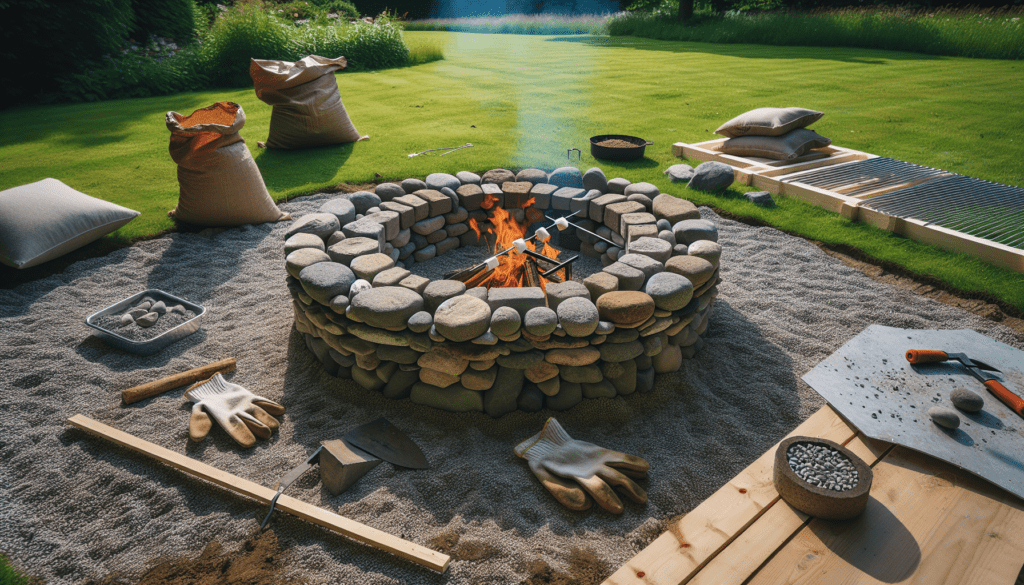
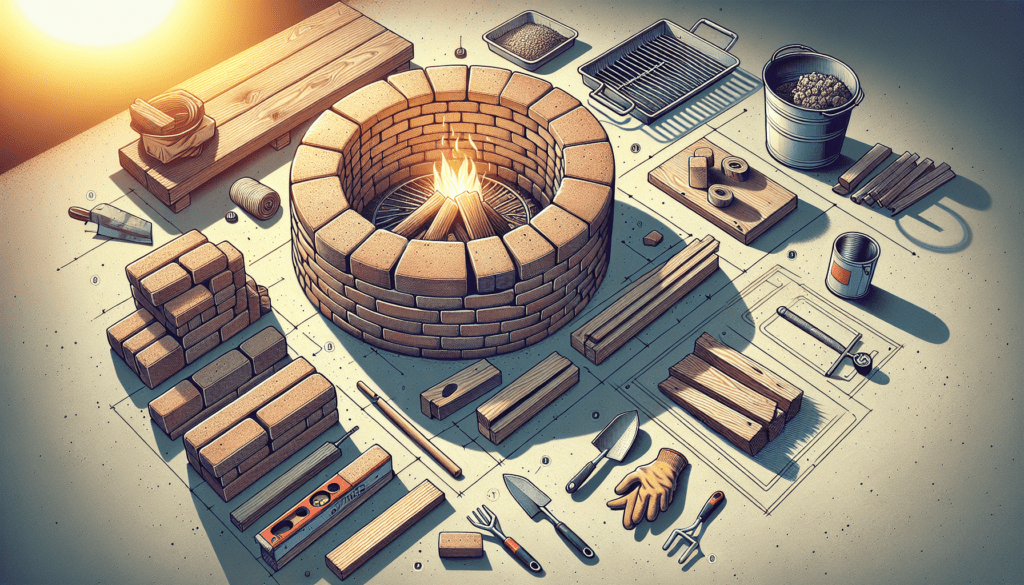
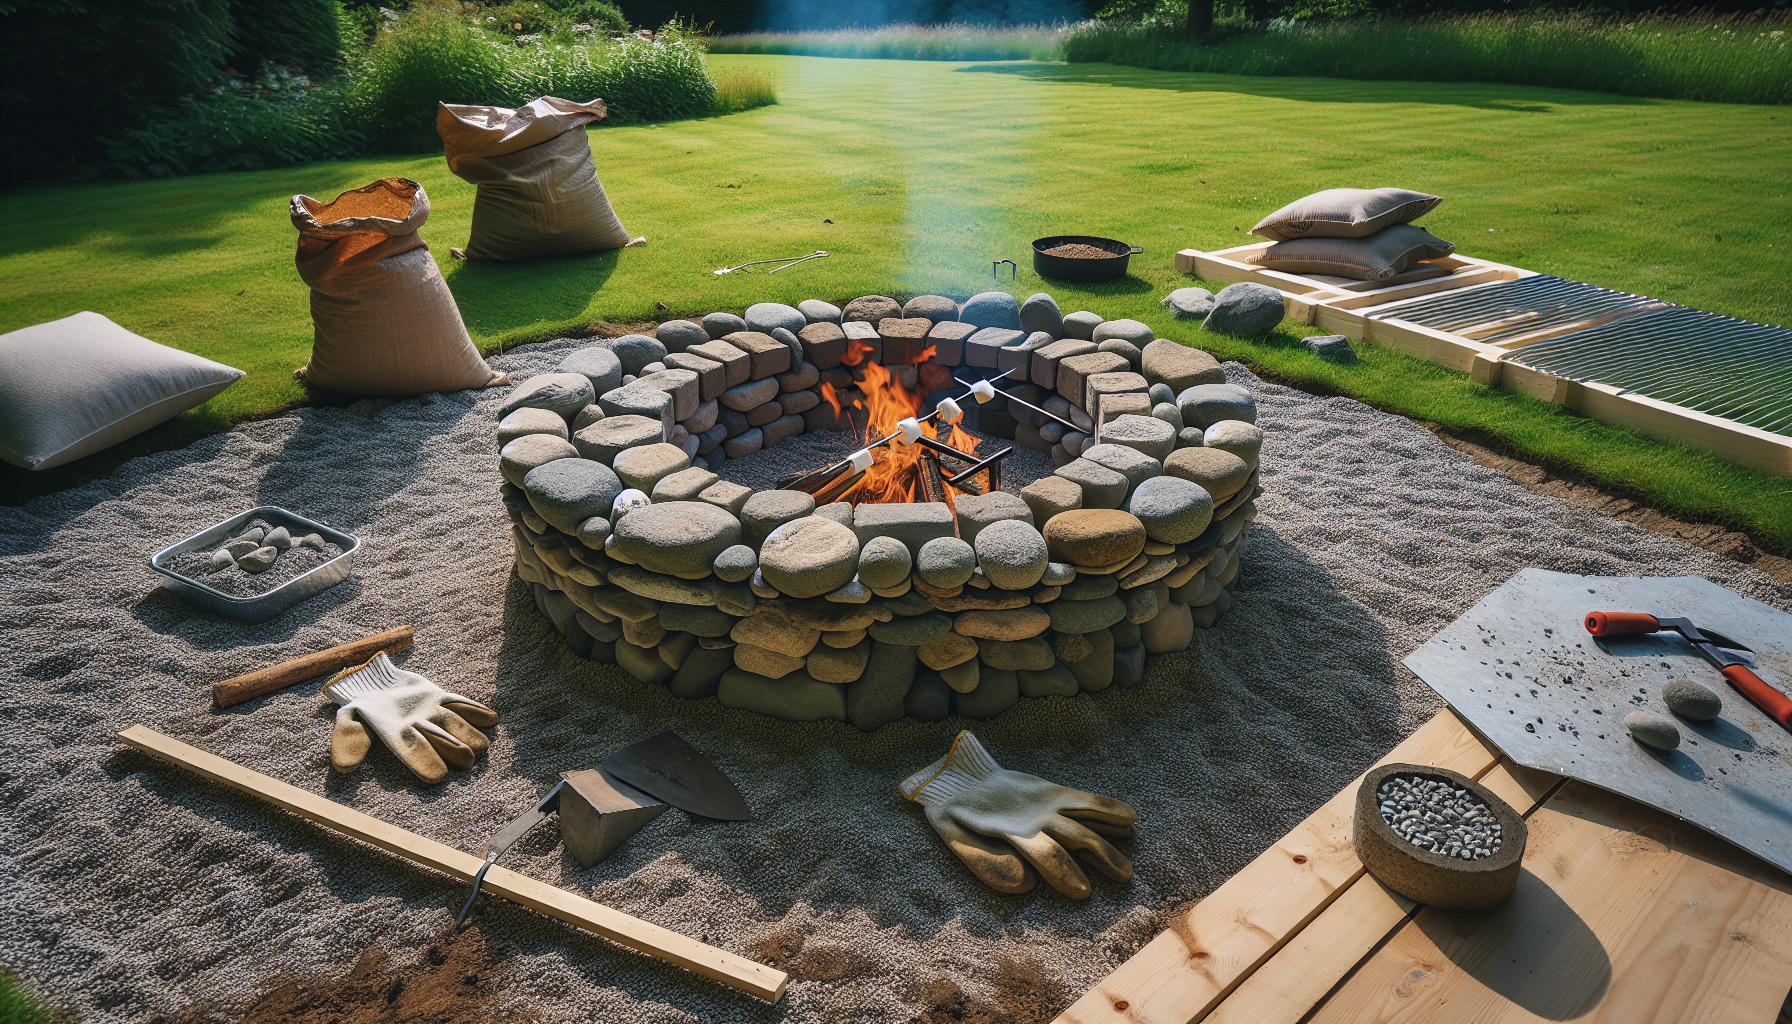
Imagine sitting outside on a warm summer night, surrounded by friends and family, gathered around a crackling fire. Now imagine being able to cook delicious meals over that fire pit, adding a whole new level of enjoyment to your outdoor gatherings. In this article, you will learn the step-by-step process of building a fire pit specifically designed for cooking. From choosing the perfect location to selecting the right materials, we will guide you through the entire process so you can start indulging in mouth-watering meals cooked over an open flame. So grab your tools and get ready to create the ultimate fire pit for cooking!

Choosing the Location
When it comes to building a fire pit for cooking, one of the most critical factors to consider is the location. Before you start gathering materials and digging, take some time to carefully choose the perfect spot in your outdoor area.
Consider local regulations and permits
Before you even begin planning your fire pit, it’s important to check with your local authorities regarding any regulations or permits that may be required. Some areas have restrictions on open fires or specific guidelines for fire pits, so it’s essential to ensure that you’re in compliance with the rules.
Find a suitable spot in your outdoor area
Once you’ve confirmed that your area allows for a fire pit, it’s time to find the ideal location in your outdoor space. Look for a spot that is conveniently accessible and provides enough room for people to gather comfortably. Consider factors such as wind direction and proximity to flammable structures or materials.
Ensure there is enough space for people to gather
A fire pit is more than just a cooking tool; it’s a gathering place for friends and family to gather around and enjoy each other’s company. Make sure there is enough space around the fire pit for seating or standing to accommodate everyone comfortably.
Keep the fire pit away from any flammable structures or materials
To ensure safety during cooking and overall use, it’s crucial to keep your fire pit a safe distance away from any flammable structures or materials. This includes buildings, trees, fences, and even overhanging branches. Remember that sparks can travel, so it’s essential to minimize the risk of fire hazards as much as possible.
Gathering the Materials
Once you’ve chosen the perfect location for your fire pit, it’s time to gather the necessary materials. Here’s a list of what you’ll need:
Bricks or stones for the fire pit walls
For the outer shell of your fire pit, you’ll need bricks or stones. These will create the walls and provide a sturdy structure for your cooking fire.
Fire-resistant cement or mortar
To hold the bricks or stones together and provide additional strength, you’ll need fire-resistant cement or mortar. This will ensure that your fire pit remains durable and long-lasting.
Grates or grills for cooking surface
If you plan on using your fire pit for cooking, you’ll need a suitable cooking surface. Grates or grills made of metal are ideal for this purpose, as they can withstand the heat of the fire and provide an even surface for cooking.
Pavers or gravel for the surrounding area
To create a clean and finished look around your fire pit, you’ll need pavers or gravel for the surrounding area. This will help define the space and prevent dirt or debris from getting into your cooking area.
Sand or gravel for the fire pit base
Underneath the cooking surface, you’ll need a layer of sand or gravel to create a stable base. This will provide a barrier between the fire and the ground, preventing any damage to the surrounding area.
Shovel and trowel for construction
To assist with the construction process, you’ll need a shovel and trowel. These will be used to dig the hole, lay the bricks or stones, and apply the cement or mortar.
Preparing the Site
With all the necessary materials gathered, it’s time to prepare the site for construction. Proper preparation will ensure that your fire pit is built on a solid foundation and will function safely.
Clear the area of any debris or vegetation
Before you can begin digging, it’s important to clear the area of any debris or vegetation. This will provide a clean surface for construction and prevent any unwanted objects from interfering with the fire pit.
Mark the perimeter of the fire pit
Using stakes or spray paint, mark the perimeter of the fire pit. This will help guide your construction process and ensure that you are building within the desired dimensions.
Remove the top layer of soil and grass
Digging a hole for the fire pit requires the removal of the top layer of soil and grass. Using your shovel, carefully excavate the desired depth, taking care to create a uniform shape.
Dig a hole for the fire pit base
Within the marked perimeter, dig a hole for the fire pit base. This hole should be slightly wider and deeper than the dimensions of the fire pit walls, allowing for proper placement and stability.
Add a layer of sand or gravel to the hole
Once the hole is dug, add a layer of sand or gravel to create a stable base. This will help prevent shifting or sinking of the fire pit walls once they are constructed.
Constructing the Fire Pit
Now comes the exciting part – constructing the fire pit itself. Follow these steps to create a sturdy and functional fire pit for cooking.
Lay the first layer of bricks or stones in a circle
Begin the construction process by laying the first layer of bricks or stones in a circular shape. This will serve as the foundation for the rest of the fire pit.
Apply fire-resistant cement or mortar between the bricks
To ensure a strong and stable structure, apply fire-resistant cement or mortar between the bricks or stones. Use your trowel to spread the cement or mortar evenly, creating a secure bond.
Continue adding layers until desired height is reached
Continue adding layers of bricks or stones, using cement or mortar between each layer, until you reach the desired height for your fire pit. This height can vary depending on your preference and cooking needs.
Create spaces for airflow between the bricks
To promote proper airflow and maintain a strong fire, create small gaps or spaces between the bricks or stones. This will allow oxygen to reach the fire and keep it burning efficiently.
Smooth the cement or mortar joints
Once the construction is complete, take some time to smooth out the cement or mortar joints. This will not only enhance the appearance but also create a more comfortable cooking surface.

Creating the Cooking Surface
Now that your fire pit is constructed, it’s time to focus on creating a suitable cooking surface. Follow these steps to ensure a safe and functional cooking experience.
Measure and cut a metal grate or grill to fit the fire pit
Measure the dimensions of your fire pit and cut a metal grate or grill to fit the cooking area. This cooking surface should fit securely on top of the bricks or stones, allowing for stable cooking.
Place the grate or grill on top of the bricks or stones
Carefully place the metal grate or grill on top of the bricks or stones, ensuring that it is centered and level. This will provide a reliable and even surface for cooking.
Ensure the cooking surface is stable and level
Test the stability and levelness of the cooking surface by gently pressing on different areas. If any adjustments are needed, make them before proceeding to the next steps.
Adding the Finishing Touches
With the fire pit and cooking surface complete, it’s time to add some finishing touches to enhance the overall experience. Consider these additions for comfort and safety.
Fill the surrounding area with pavers or gravel
To create a clean and finished look, fill the surrounding area of the fire pit with pavers or gravel. This will provide an even surface for placing chairs or other seating options.
Compact the pavers or gravel for a solid surface
Once the pavers or gravel are in place, compact them by gently tamping them down. This will create a solid surface that is safe to walk on and minimizes the risk of tripping or sinking.
Add seating or a fire pit ring for comfort and safety
For added comfort and safety, consider adding seating options around the fire pit or a fire pit ring. This not only provides a designated area for gathering but also prevents accidental slips or falls into the fire.
Consider adding a spark screen or cover for protection
To protect against flying sparks and embers, consider adding a spark screen or cover to your fire pit. This simple addition can prevent accidents and ensure a safer cooking experience.
Using the Fire Pit
Now that your fire pit is complete and ready to use, it’s important to understand how to safely operate and cook on it.
Start the fire with kindling and small logs
To start the fire, begin with kindling and small logs. This will help establish a stable flame that can then be built upon.
Add larger firewood once the flames are established
Once the flames are established, gradually add larger pieces of firewood to maintain a steady and consistent heat. This will provide optimal cooking conditions and ensure a controlled fire.
Adjust the airflow by adding or removing bricks
To control the intensity of the fire, you can adjust the airflow by adding or removing bricks from the spaces between them. This allows for better temperature control and cooking precision.
Maintain a safe distance from the fire pit while cooking
While cooking over an open fire can be exciting, it’s important to maintain a safe distance from the fire pit. Avoid leaning directly over the flames or reaching across the fire. Use long utensils or grill tools for added safety.
Use a thermometer to gauge cooking temperatures
To ensure that your food is cooked to perfection, consider using a thermometer to gauge cooking temperatures. This will help you achieve the desired doneness and prevent under or overcooking.
Safety Precautions
While enjoying your fire pit for cooking, it’s crucial to prioritize safety. Implement these safety precautions to prevent accidents and ensure a worry-free experience.
Keep a fire extinguisher and water nearby
Always have a fire extinguisher and a source of water nearby in case of emergencies. Having these tools readily available can help you quickly and effectively extinguish any unexpected fires.
Never leave the fire pit unattended
Whether you’re cooking or not, never leave the fire pit unattended. Fires can quickly escalate, and it’s essential to have someone present to monitor the flames and ensure safety.
Supervise children and pets around the fire
Children and pets should never be left unattended near the fire pit. Educate them about the potential dangers and establish clear boundaries to prevent accidents.
Avoid using flammable liquids to start the fire
When starting the fire, avoid using flammable liquids such as gasoline or lighter fluid. These substances can cause sudden and uncontrollable flames, posing a significant risk to your safety.
Dispose of ash and debris properly
Once the fire has extinguished and the fire pit has cooled completely, dispose of the ash and debris properly. Use a shovel or ash tool to remove the remnants and place them in a designated container or disposal area.
Cleaning and Maintenance
Regular cleaning and maintenance are essential to keep your fire pit in optimal condition. Follow these steps to ensure its longevity.
Allow the fire pit to cool completely before cleaning
Never attempt to clean your fire pit while it is still hot. Allow it to cool completely before beginning any cleaning or maintenance activities.
Remove ashes with a shovel or ash tool
Once the fire pit has cooled, remove the ashes using a shovel or an ash tool. Place the ashes in a designated container or dispose of them according to local regulations.
Scrub the cooking surface with a brush and mild detergent
Clean the cooking surface by scrubbing it with a brush and mild detergent. This will help remove any residual food particles and ensure a hygienic cooking area for future use.
Inspect and repair any damaged bricks or stones
Regularly inspect your fire pit for any damaged bricks or stones. If you notice any cracks or chips, repair them promptly to prevent further deterioration.
Regularly check for debris or obstructions in the airflow
Inspect the spaces between the bricks or stones for any debris or obstructions that may restrict airflow. Regular cleaning will help maintain optimal combustion and prevent issues with the fire pit’s functionality.
Enhancing the Cooking Experience
To take your fire pit cooking to the next level, consider these additional tips and techniques to enhance your culinary adventures.
Experiment with different wood types for unique flavors
Different types of wood impart unique flavors to your food. Experiment with different varieties such as mesquite, apple, or cherry to add depth and complexity to your dishes.
Consider adding a rotisserie attachment for versatile cooking
If you’re looking to expand your cooking options, consider adding a rotisserie attachment to your fire pit. This will allow you to cook succulent meats and poultry with an enticing, slow-roasted flavor.
Use cast iron cookware to enhance heat distribution
Cast iron cookware is excellent for fire pit cooking due to its excellent heat distribution. Invest in a cast iron skillet, Dutch oven, or griddle for versatile cooking options.
Add a side table or storage space for kitchen utensils
To make your cooking experience more convenient, consider adding a side table or storage space next to your fire pit. This will allow you to keep your utensils, ingredients, and seasonings within easy reach.
Explore various recipes and techniques for open-fire cooking
Don’t limit yourself to basic grilling; learn and explore various recipes and techniques for open-fire cooking. From smoking and roasting to baking and searing, the possibilities are endless.
By following these steps and tips, you can confidently build a fire pit for cooking that will not only provide a practical cooking surface but also create a cozy and inviting ambiance in your outdoor space. So gather your materials, choose the perfect location, and get ready to embark on a culinary adventure around your very own fire pit. Happy cooking!

