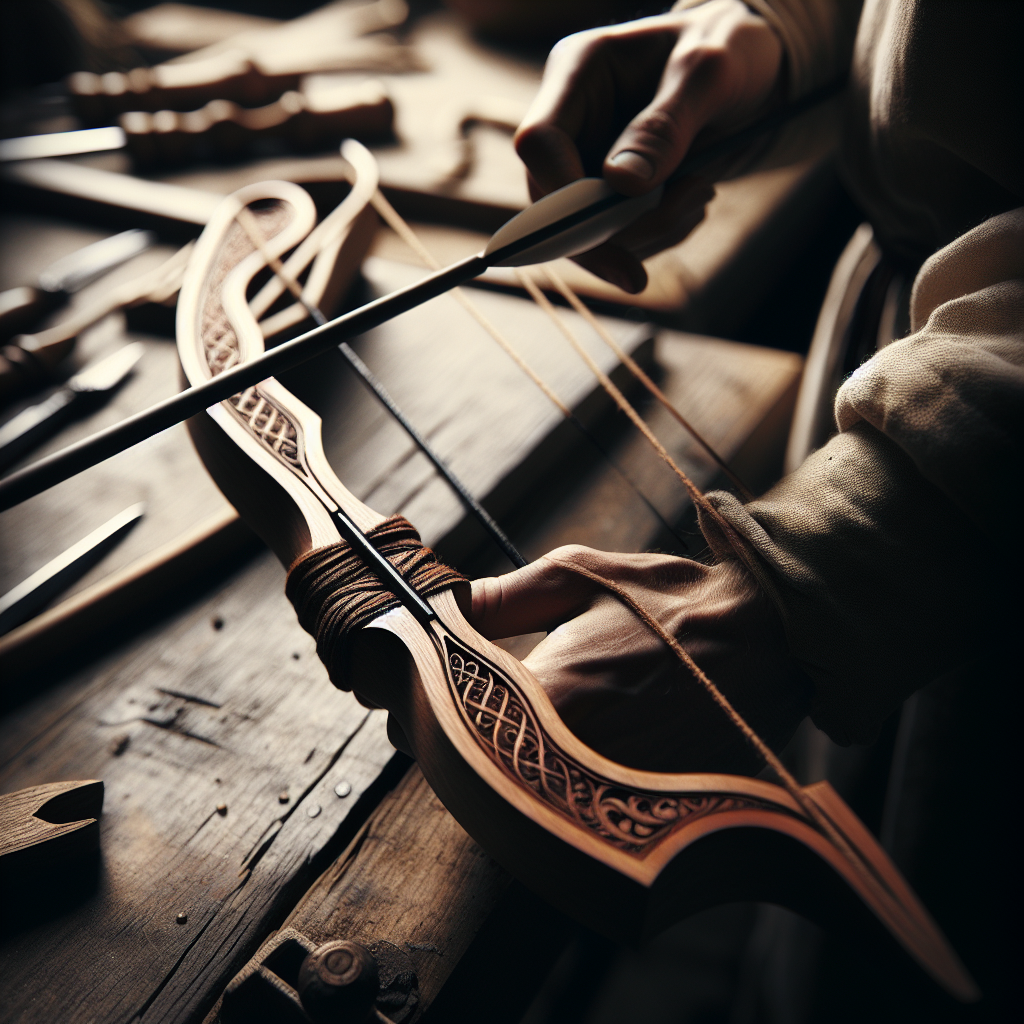
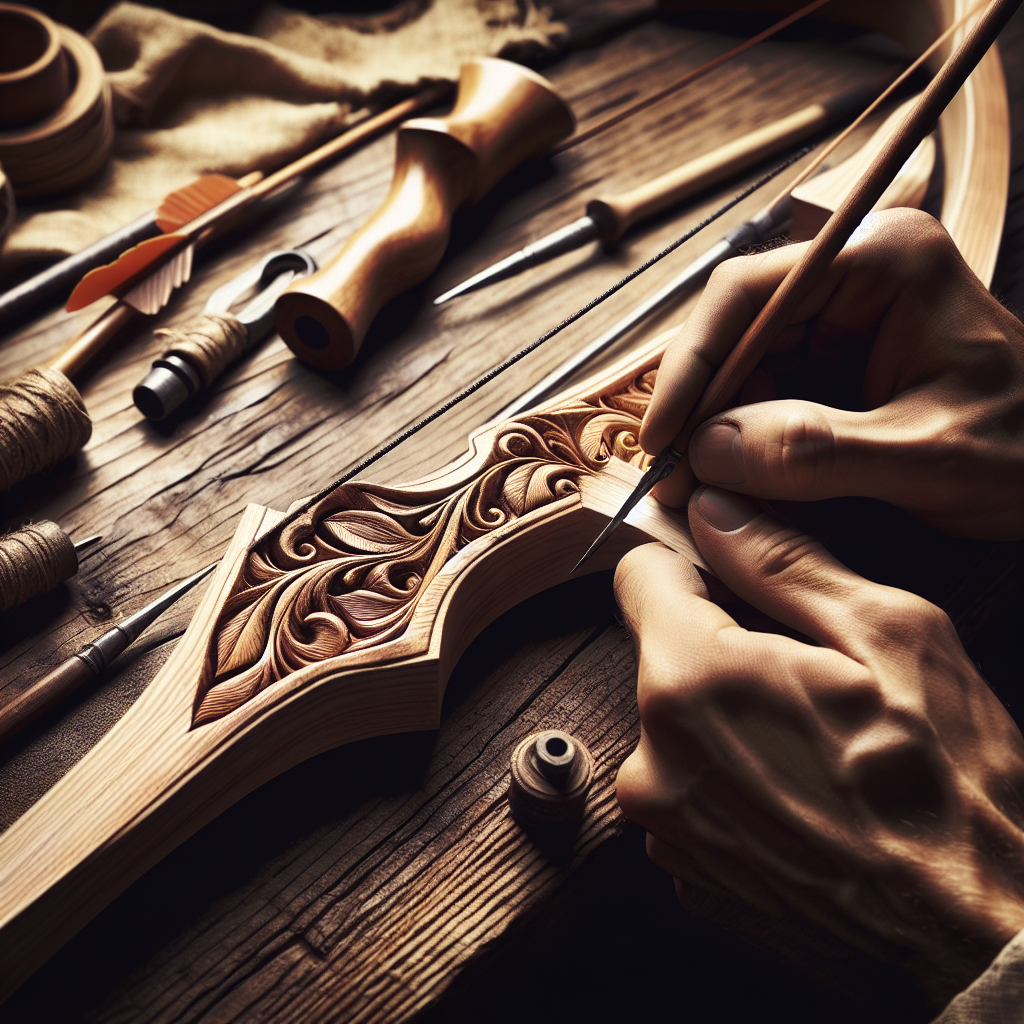
Are you intrigued by archery and want to try making your very own bow and arrow? Look no further! This article provides a detailed and easy-to-follow step-by-step guide on creating your own homemade bow and arrow. From gathering the necessary materials to shaping and stringing the bow, this guide will walk you through each stage of the process. Whether you’re a beginner or a seasoned archer, this article will help you unleash your inner craftsman and create a bow and arrow that is uniquely yours. So grab your tools and let’s get started on this exciting DIY adventure!

Choosing the Right Wood
When it comes to making a bow and arrow, one of the most important steps is selecting the right type of wood. Different types of wood have different characteristics, so it’s crucial to choose one that is suitable for your needs. Some woods are better suited for bows, while others are better for arrows.
When choosing wood for your bow, look for a type that is straight, strong, and flexible. Straightness is essential for the overall stability and performance of the bow. Strong wood will ensure that the bow can withstand the tension and pressure of being drawn. Flexibility is important as it allows the bow to store and release energy effectively.
On the other hand, you should avoid woods that are prone to splitting or warping. These types of wood will not only affect the performance of your bow but can also pose safety risks. It’s essential to choose a wood that is reliable and resistant to common issues.
Gathering the Materials
Before you can start making a bow and arrow, you’ll need to gather all the necessary materials. This includes wood for the bow, wood for the arrow, string material, and the necessary tools and equipment.
When it comes to selecting wood for the bow, you’ll want to choose a type that is suitable for your skill level and the desired draw weight of the bow. Some popular options include yew, bamboo, hickory, and ash. Each type of wood has its own unique properties, so be sure to do your research and select the one that best meets your needs.
For the arrow, you’ll need to choose a hardwood that is lightweight and durable. Common options include cedar, birch, and poplar. These woods are known for their strength and flexibility, making them ideal for arrows.
In addition to the wood, you’ll also need string material for your bow. Traditional options include linen, silk, or even animal sinew. These materials offer the necessary strength and flexibility for the bowstring.
Lastly, don’t forget to gather the tools and equipment you’ll need for the project. This may include a saw, a rasp or file for shaping the wood, sandpaper for smoothing the surfaces, and an arrowhead for the arrow.
Preparing the Bow
Once you’ve gathered all the necessary materials, it’s time to prepare the bow. This involves cutting the wood to the desired length, shaping it, creating a handle, and tillering the bow.
Start by cutting the wood to the desired length for your bow. This will depend on your own height and preference, as well as the type of bow you are making. Be sure to measure carefully and make precise cuts to ensure that the bow is symmetrical and well-balanced.
Next, shape the bow by removing any excess material and smoothing the edges. A rasp or file can be used to shape the wood and create the desired curvature of the bow. Take your time during this step to ensure that the bow has a smooth and even shape.
After shaping the bow, it’s time to create a handle. This is the part of the bow that you will grip when shooting. Consider the size of your hand and personal preference when shaping the handle. Use sandpaper to smoothen the handle, ensuring a comfortable and secure grip.
Lastly, tiller the bow to ensure an even distribution of the draw weight throughout the limbs. This process involves carefully removing material from the belly (side facing towards the archer) of the bow to achieve the desired bend. Pay attention to maintain symmetry and ensure proper tillering for optimum performance.
Making the Arrow
Now that the bow is taking shape, it’s time to focus on making the arrow. This involves choosing the right arrow shaft, cutting it to length, fletching the arrow, and installing the arrowhead.
When choosing the arrow shaft, consider the type of wood and its characteristics. Look for a hardwood that is lightweight yet strong enough to withstand the force of being shot from the bow. The length of the arrow shaft should be appropriate for your draw length and the type of bow you are using.
Once you’ve selected the arrow shaft, it’s time to cut it to the desired length. Measure carefully and use a saw or appropriate cutting tool to make a clean, straight cut. Be sure to cut the shaft at a length that is suitable for the arrowhead you plan to use.
After cutting the shaft, it’s time to fletch the arrow. Fletching refers to attaching feathers or synthetic vanes to the end of the arrow shaft to stabilize its flight. Traditionally, feathers were used, but nowadays, various synthetic materials are also available. Glue the fletching to the end of the shaft, ensuring that they are evenly spaced and aligned.
Lastly, install the arrowhead at the front end of the arrow shaft. Arrowheads come in various shapes and materials, so choose one that suits your needs and preferences. Attach the arrowhead securely to the shaft, using glue or other appropriate means.

Creating the Bowstring
Now that both the bow and arrow are taking shape, it’s time to create the bowstring. The bowstring is vital for transferring the energy from the bow to the arrow. It needs to be strong, flexible, and durable.
Start by choosing the right string material for your bow. Consider factors such as strength, flexibility, and availability. Natural materials like linen or silk offer good performance, while synthetic materials like Dacron are also popular choices.
Once you have the string material, measure and cut it to the appropriate length. Measure from tip to tip of the bow, taking into account the handle and any additional length needed for making loops.
To create loops on both ends of the string, you can use various techniques. One method involves tying loops using a bowstring jig or by carefully following step-by-step instructions. Ensure that the loops are securely tied and properly sized to fit the bow tips.
Assembling the Bow and Arrow
With the individual components ready, it’s time to assemble the bow and attach the arrow. Start by attaching the bowstring to the bow, securing it tightly into the notches on each end. Take care to align the string properly and ensure that it is centered on the handle.
Next, add nocking points to the bowstring. These are small metal or plastic rings placed on the bowstring, which will help hold the arrow securely in place. Attach them about an inch above and below the center of the bow, ensuring they are evenly spaced and firmly in place.
To fit the arrow onto the bow, place the arrow on the arrow rest, which is a small ledge on the side of the bow. Gently slide the arrow onto the bowstring, making sure it is positioned securely between the nocking points.
Finally, before you start shooting, it’s essential to test the bow and arrow. Make sure the bowstring is properly tensioned and the arrow is aligned with the bow. Take a few practice shots to test the accuracy, speed, and overall performance. Make any necessary adjustments before moving on.
Tuning and Adjusting
To ensure optimal performance, it’s important to tune and adjust your bow and arrow. Pay attention to two key areas: tillering and brace height.
Tillering refers to the balance of the bow’s limbs. Use a tillering tree or follow a proper tillering method to adjust the bend in each limb. This will allow for an even draw and release of energy, resulting in better accuracy and performance.
Brace height refers to the distance between the bowstring and the deepest part of the grip when the bow is unstrung. Adjusting the brace height can impact the draw weight and overall feel of the bow. Experiment with different brace heights to find the one that suits you best.
Additionally, fine-tuning the arrow flight is essential for accuracy. Make adjustments to the fletching, arrowhead weight, or even arrow spine to ensure a straight and stable flight.
Safety Considerations
While making and shooting a bow and arrow can be a fun and rewarding experience, it’s crucial to prioritize safety. Here are a few safety considerations to keep in mind:
Wear appropriate safety gear, including finger protection, an armguard, and eye protection. These items will help prevent injuries and ensure a safe shooting experience.
Choose a safe shooting location outdoors, away from any people or objects that could be potentially harmed. Make sure you have a clear and open space to shoot your bow and arrow without any obstructions.
Always practice proper shooting technique. Before shooting, educate yourself on proper posture, grip, and release. Take the time to learn and develop good shooting habits to avoid any accidents or injuries.
Maintenance and Care
To keep your bow and arrow in good condition and ensure longevity, proper maintenance and care are essential. Regularly inspect your equipment for any signs of damage or wear. Check for cracks, splits, or splintering in the wood, as well as loose or fraying bowstring.
Clean your bow and arrow regularly to remove dust, dirt, and any other debris. A soft cloth or brush can be used to clean the surfaces gently. Avoid using harsh chemicals or abrasive cleaners that can damage the wood or affect the performance.
When not in use, store your bow and arrow in a dry and temperate environment. Extreme temperatures, humidity, or moisture can warp the wood or weaken the bowstring. Consider using a bow case or bag to protect your equipment from any potential damage.
If any parts of your bow or arrow become worn out or damaged, it’s important to replace them promptly. This includes the bowstring, arrow shaft, arrowhead, or any other components that may affect the performance or safety.
By following these steps and guidelines, you can create your own bow and arrow and embark on the adventurous journey of archery. Enjoy the process of crafting your own equipment and take pride in the skill and dedication it requires. Remember to always prioritize safety, practice proper technique, and have fun exploring the ancient art of archery.
