Imagine being able to effortlessly lift heavy objects with just a few simple tools and materials. In this article, you will learn how to make a simple pulley system that will simplify your lifting needs. From everyday DIY projects to lifting heavy furniture, this pulley system is the solution you’ve been looking for. With easy-to-follow steps and readily available materials, you’ll be amazed at how this simple yet effective mechanism can make your life so much easier. So grab your tools and let’s get started!

Materials Needed
To make a simple pulley system, you will need a few materials. These materials include:
- Rope: You will need a strong and durable rope that is suitable for the weight of the load you will be lifting. Make sure to choose a rope that is long enough for your needs.
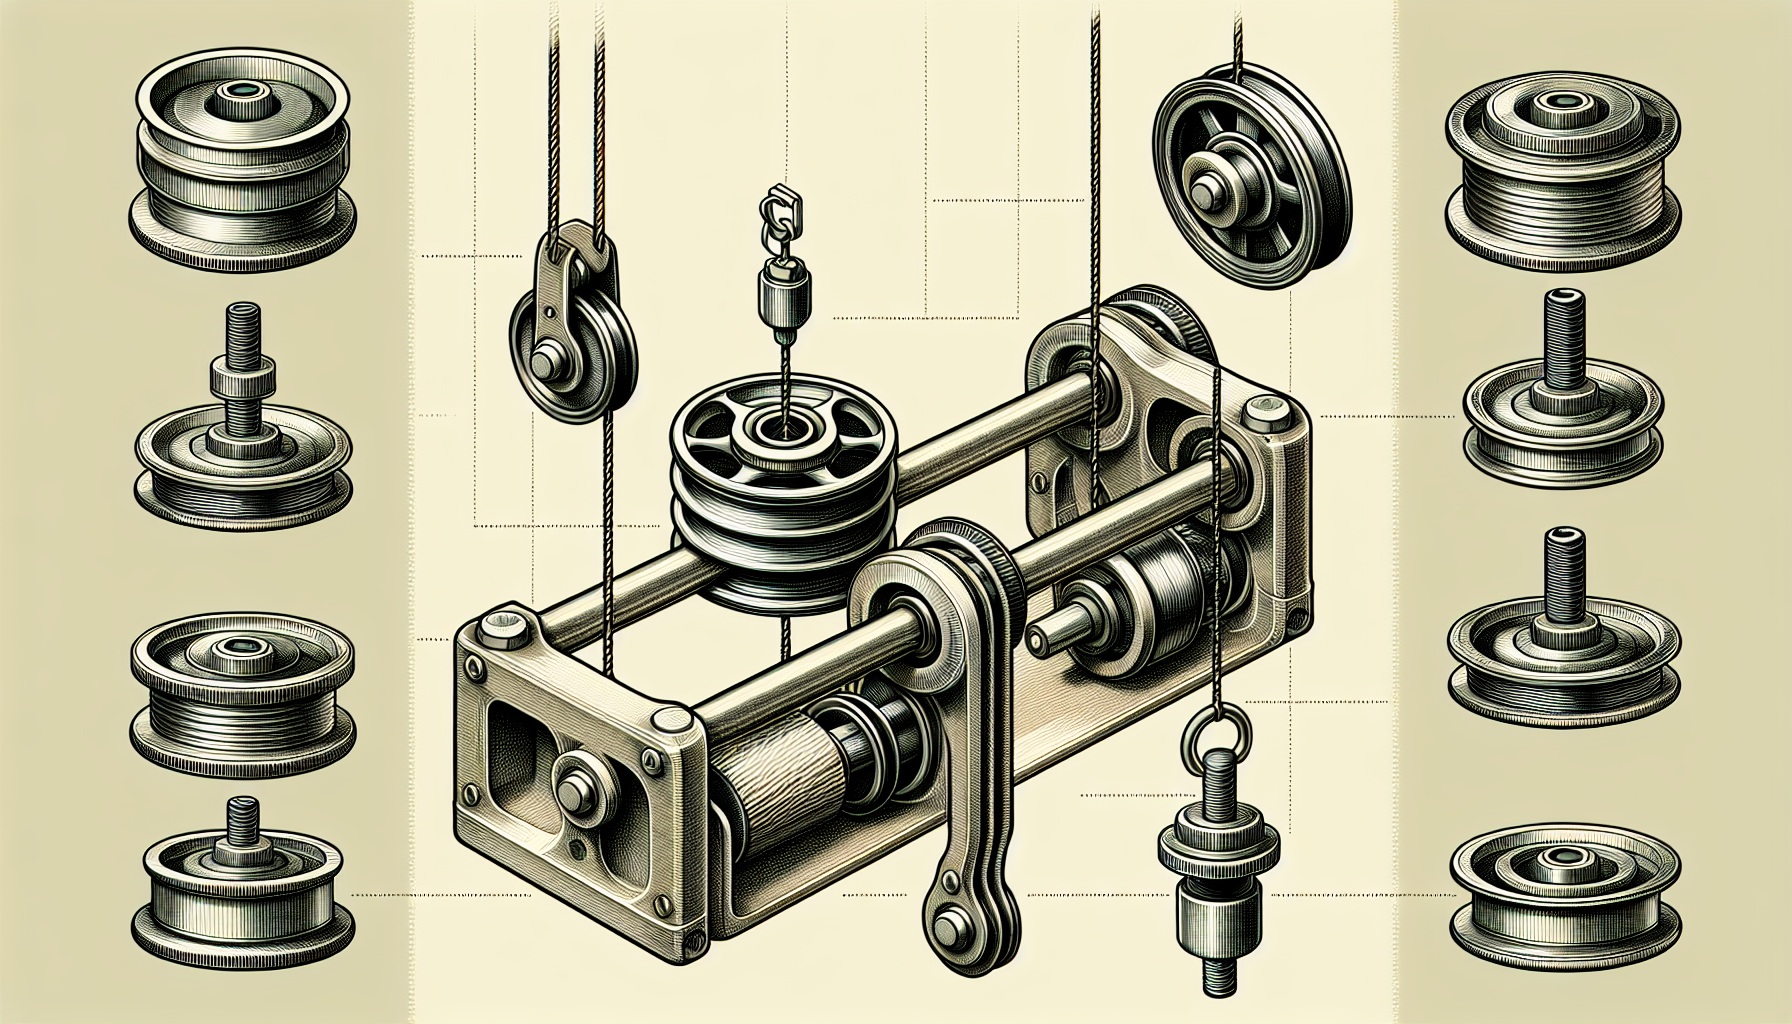
- Pulley: A pulley is a wheel with a grooved rim that is used to change the direction of a rope or chain. You will need at least one pulley for your pulley system.
- Anchor Point: You will need a sturdy and secure anchor point to attach your pulley system to. This could be a tree branch, a beam, or any other strong structure.
- Load: Finally, you will need a load that you want to lift or lower using your pulley system. This could be a basket, a bucket, or any other object that you want to move.
Now that you have gathered your materials, you can move on to the next step.
Step 1: Gathering Materials
Before you begin building your pulley system, it is important to gather all the required materials. This will save you time and ensure that you have everything you need. Take a look at the list above and check off each item as you collect it. Make sure to choose a rope that is suitable for the weight of the load you will be lifting. If you are unsure about the strength of the rope, it is always better to choose a stronger one to be on the safe side.
Step 2: Choosing the Right Rope
Choosing the right rope for your pulley system is crucial. You want to make sure that the rope is strong enough to handle the weight of your load without breaking. The thickness and material of the rope will determine its strength. Nylon ropes are known for their durability and are commonly used for pulley systems. However, you can also use other materials such as polyester or polypropylene. It is important to choose a rope that is long enough for your needs. Measure the distance between your anchor point and the desired location of your load to determine the length of the rope you will need.
Step 3: Finding a Suitable Anchor Point
Now that you have your rope, it’s time to find a suitable anchor point for your pulley system. An anchor point is a strong and secure structure to which you will attach your pulley system. It should be able to handle the weight of the load you will be lifting. Look for a sturdy tree branch, a beam, or any other structure that can support the weight. Make sure the anchor point is at a suitable height and position to allow for smooth movement of the load.

Step 4: Attaching the Pulley
Once you have found a suitable anchor point, it’s time to attach the pulley. Place the pulley around the anchor point and make sure it is secure. You can use a carabiner or a rope sling to attach the pulley to the anchor point. Ensure that the pulley is positioned correctly and that the grooved rim is facing upwards. This will allow the rope to move smoothly through the pulley.
Step 5: Measuring the Length of the Rope
Now that the pulley is attached, you need to measure the length of the rope. Take the rope and tie one end securely to the load you want to lift or lower. Then, extend the rope through the pulley and down to the ground. Leave enough slack in the rope to allow for movement. Measure the distance from the anchor point to the ground and add a little extra length for safety. This will give you the total length of the rope you will need.
Step 6: Attaching the Load
With the rope measured, it’s time to attach the load. Make sure the load is securely fastened to the rope using a knot or a carabiner. Double-check that the attachment is strong and that the load is balanced. This will prevent any accidents or damage to the load during operation. Once the load is attached, you are now ready to test the pulley system.
Step 7: Testing the Pulley System
Before using the pulley system to lift or lower the load, it is important to test its functionality. Slowly raise and lower the load several times to ensure that the pulley is working smoothly. Check for any signs of jamming or snagging. Make any necessary adjustments to the pulley or load attachment if needed. It is better to identify and fix any issues before using the pulley system for its intended purpose.
Adding Multiple Pulleys for Mechanical Advantage
If you need to lift heavier loads or want to increase the efficiency of your pulley system, you can add multiple pulleys for mechanical advantage. By using a system of multiple pulleys, you can distribute the load’s weight evenly and reduce the amount of force required to lift the load. This is known as mechanical advantage. To add multiple pulleys, simply attach them to the anchor point alongside the existing pulley. Make sure the pulleys are aligned and secure. The more pulleys you add, the greater the mechanical advantage you will achieve.
Conclusion
Congratulations! You have successfully learned how to make a simple pulley system. With just a few materials and some basic steps, you can create a pulley system to lift or lower loads with ease. Remember to choose the right rope, find a suitable anchor point, attach the pulley correctly, measure the length of the rope, securely attach the load, and test the pulley system before use. Additionally, you can enhance the system’s efficiency by adding multiple pulleys for mechanical advantage. By following these steps, you can safely and effectively use a pulley system for various tasks.