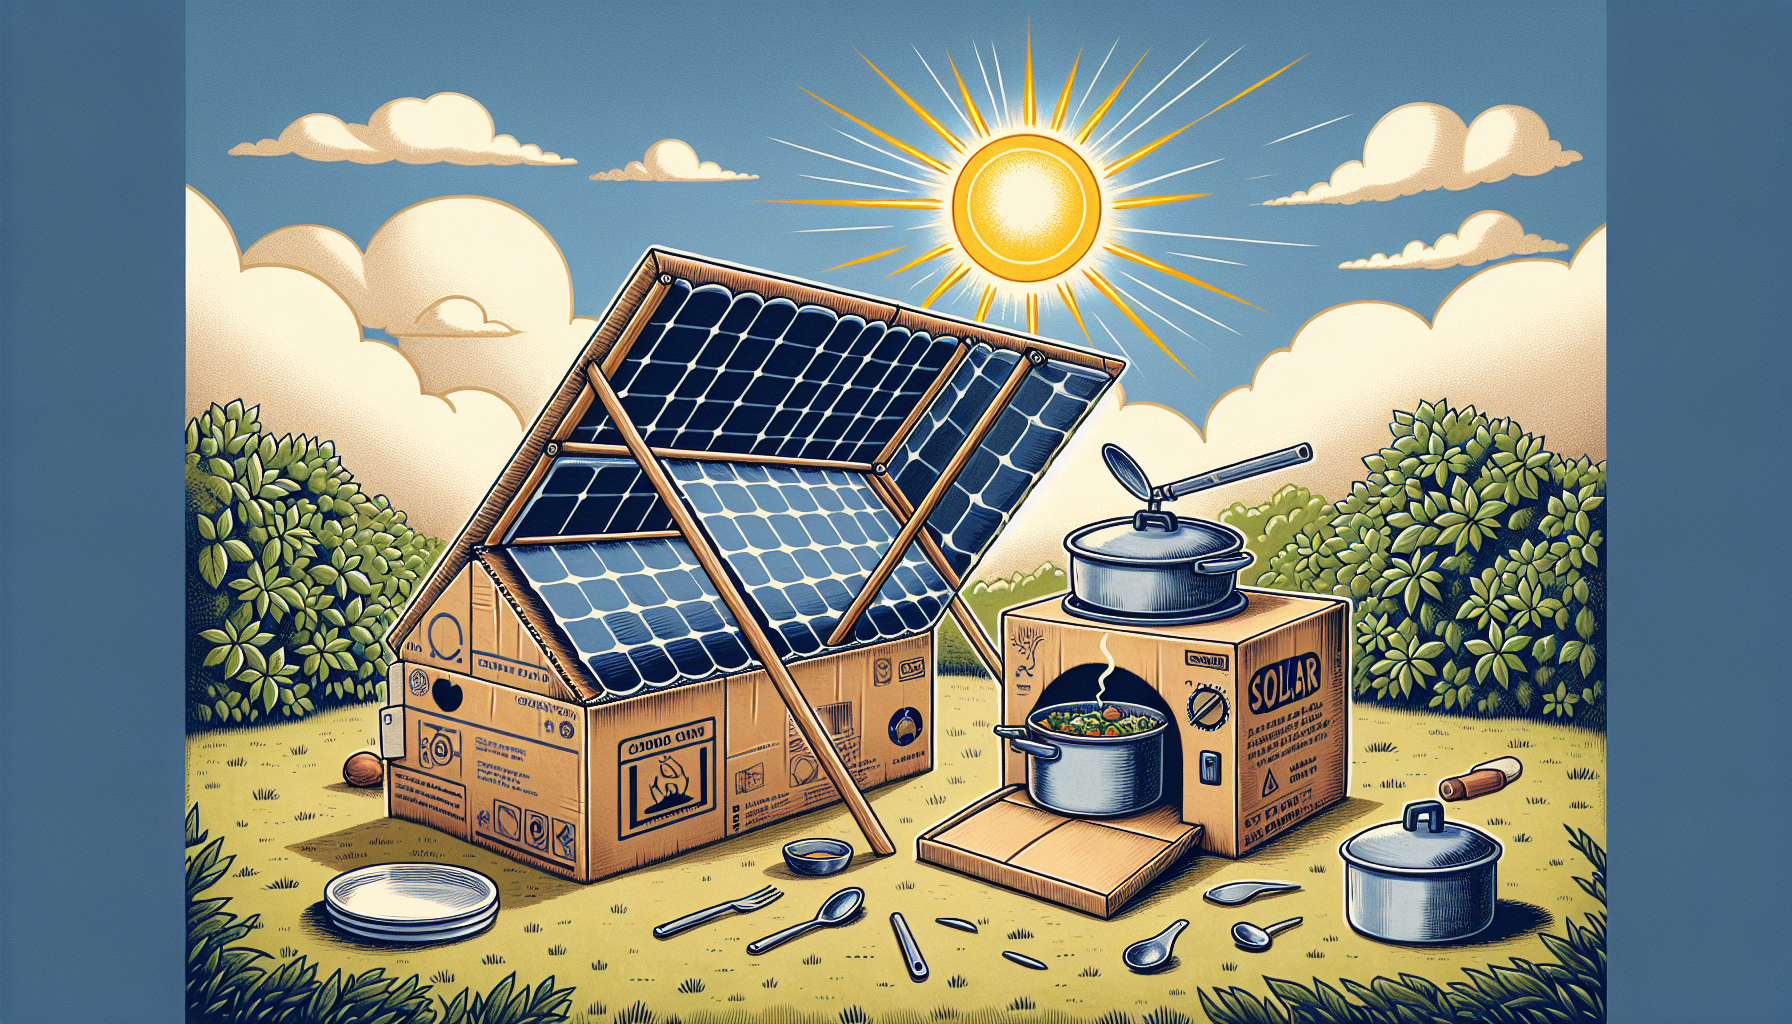
Imagine being able to cook a delicious meal using only the power of the sun. With a DIY solar oven, this futuristic concept becomes a reality. In this article, you will learn a simple yet effective method to create your own solar oven using readily available materials. Not only will you save on your electricity bill, but you will also contribute to a more sustainable future. So, roll up your sleeves and get ready to harness the power of the sun with this step-by-step guide on building your very own DIY solar oven.
Materials and Tools
List of Materials
To build a DIY solar oven, you will need the following materials:
- Base Material (such as plywood, cardboard, or metal)
- Insulation Material (such as Styrofoam, fiberglass, or reflective insulation)
- Reflector Material (such as aluminum foil or reflective material)
- Heat-resistant Glass or Plexiglas
- Hinges and Latch
- Ventilation Openings
- Thermometer
- Cookware
Required Tools
You will also need the following tools to construct your solar oven:
- Measuring Tape
- Pencil
- Ruler or Straight Edge
- Utility Knife or Scissors
- Screwdriver or Drill
- Hammer or Staple Gun
- Sandpaper (for smoothing edges)
Building the Base
Choosing the Base Material
The base of your solar oven provides stability and support for the other components. You can choose from various materials like plywood, cardboard, or metal. Make sure it is sturdy and can withstand heat.
Cutting the Base Material
Measure and mark the dimensions of the base using a measuring tape, pencil, and ruler. Use a utility knife or scissors to cut the material according to your measurements. Take your time to ensure clean and straight cuts.
Assembling the Base
Once you have cut the base material, assemble the pieces together. If you are using plywood, you can use nails, screws, or adhesive to join the sections. For cardboard or metal, use a staple gun or appropriate fasteners. Ensure the base is securely assembled before moving on to the next step.

Creating the Insulation Layer
Insulation Material Options
The insulation layer helps trap heat inside the solar oven, increasing its efficiency. Popular insulation materials include Styrofoam, fiberglass, or reflective insulation. Choose one that is suitable for your needs and readily available.
Applying the Insulation
Measure and cut the insulation material to fit the interior walls and bottom of the base. For flat insulation materials, use a utility knife or scissors to cut them to size. If using reflective insulation, ensure the reflective side is facing inward to maximize heat retention.
Securing the Insulation
Once the insulation is cut, firmly attach it to the walls and bottom of the base using adhesive, staples, or tape. Ensure it is securely in place and covers all exposed areas. This will prevent heat from escaping and enhance the oven’s performance.
Constructing the Reflector
Choosing Reflector Material
The reflector helps direct sunlight towards the oven, increasing the amount of heat generated. Aluminum foil or reflective material is commonly used for this purpose. Choose a material that is lightweight, durable, and easy to shape.
Cutting and Shaping the Reflector
Measure and cut the reflector material into a size and shape that will best focus sunlight onto the oven. You can either cover the entire top surface of the base or create a separate reflector that can be attached. Be creative in shaping the reflector to optimize its effectiveness.
Attaching the Reflector to the Base
Using adhesive or tape, securely attach the reflector material to the base. Ensure a tight and smooth fit to avoid any gaps or wrinkles that could affect the reflection of sunlight. Test the reflector by positioning it and observing how sunlight is directed towards the oven.

Building the Heat Box
Designing the Heat Box
The heat box is where the cooking takes place. It should be designed to retain heat and provide a controlled environment. Consider the size and shape of your cookware when designing the dimensions of the heat box.
Cutting and Assembling the Heat Box
Using your chosen heat-resistant material, measure and cut the pieces needed to construct the heat box. Take care to smooth any rough edges using sandpaper. Assemble the pieces together with nails, screws, or adhesive, ensuring a sturdy and secure structure.
Adding Hinges and Latch
Attach hinges to one side of the heat box and the corresponding side of the base to create a door that can be opened and closed. Install a latch or clasp to ensure the door remains securely shut during cooking.
Installing the Glass Cover
Selecting the Glass
Choose heat-resistant glass or Plexiglas that can withstand the high temperatures inside the solar oven. The glass cover should allow sunlight to enter while minimizing heat loss and providing a clear view of the cooking process.
Measuring and Cutting the Glass
Measure the dimensions of the opening on the heat box and mark them on the glass. Use a glass cutter to score along the marked lines, then gently apply pressure to break the glass along the score lines. Smooth any sharp edges with sandpaper.
Securing the Glass to the Heat Box
Attach the glass cover to the heat box using hinges or metal brackets. Ensure a tight fit and proper alignment. The glass should be securely fixed, but still allow for easy opening and closing of the heat box door.
Vent and Temperature Control
Creating Ventilation Openings
To regulate the temperature inside the solar oven, create small ventilation openings. These can be strategically placed near the bottom or top of the heat box. Use a utility knife or drill to carefully create small holes or slits, allowing excess heat to escape.
Adding a Thermometer
To monitor the internal temperature of the solar oven, install a thermometer near the cooking area. This will help you gauge the ideal temperature for different types of cooking and make necessary adjustments.
Testing the Solar Oven
Testing in Direct Sunlight
Place your solar oven in direct sunlight and observe how it performs. Pay attention to the temperature inside the oven and how effectively it retains heat. Make any necessary modifications or adjustments based on your observations.
Monitoring and Adjusting the Temperature
During testing, regularly check the temperature inside the oven using the installed thermometer. Adjust the ventilation openings as needed to maintain the desired temperature. This will ensure optimal cooking conditions.
Cooking with the Solar Oven
Choosing Cookware
When cooking with a solar oven, select cookware that is appropriate for the dish you wish to prepare. Glass or dark-colored metal cookware is ideal as they absorb and retain heat well. Avoid using plastic or thin, light-colored pans that may not distribute heat evenly.
Preheating the Oven
Preheating your solar oven is important to ensure consistent cooking temperatures. Place the oven in direct sunlight for approximately 30 minutes before adding the food. This will allow the internal temperature to rise and stabilize.
Recipes and Cooking Tips
When using a solar oven, consider recipes that require low and slow cooking. Soups, stews, grains, and certain vegetables are excellent options. Experiment with cooking times and temperatures, keeping in mind that solar ovens typically cook at a lower temperature compared to conventional ovens.
Maintenance and Care
Cleaning the Solar Oven
After each use, clean the solar oven thoroughly to remove any food residue or debris. Use a damp cloth or sponge to wipe down the interior and exterior surfaces. Avoid using abrasive cleaners or harsh chemicals that may damage the materials.
Storing the Oven
When not in use, store your solar oven in a safe and dry location. Protect it from extreme weather conditions, moisture, and pests. If possible, disassemble any removable parts for compact storage. Regularly check for any signs of wear or damage and make repairs as needed.
By following these steps, you now have the knowledge and guidance to build your very own DIY solar oven. Enjoy cooking delicious and sustainable meals while harnessing the power of the sun!