In case of an emergency, having a DIY emergency flare can be a lifesaver. This article will provide you with a step-by-step guide on how to make your own emergency flare using common household items. With just a few simple ingredients and a little bit of creativity, you can create a reliable and effective signal for help in critical situations. Whether you find yourself stranded in the wilderness or experiencing a roadside breakdown, this DIY emergency flare will give you peace of mind and potentially save your life. So, let’s get started and learn how to make your own DIY emergency flare.
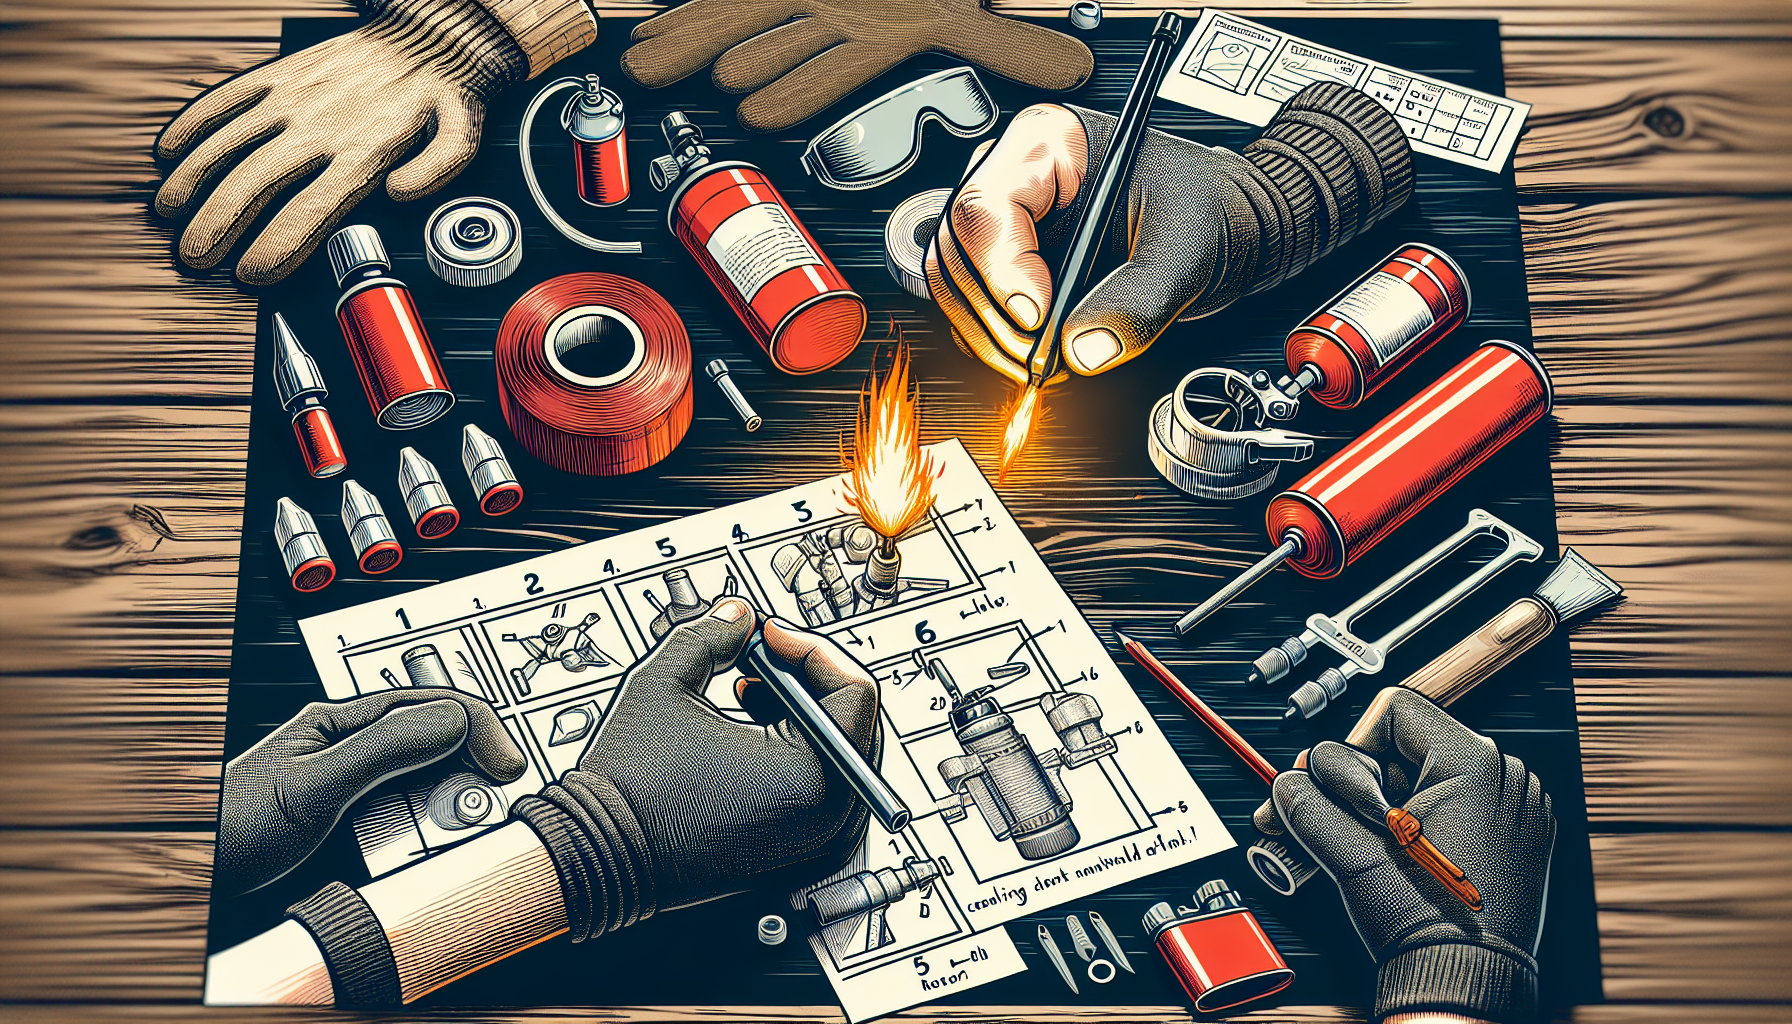
Materials Needed
Container
To make a DIY emergency flare, you will need a suitable container. The container should be sturdy and able to withstand high temperatures without melting or warping. A metal container, such as an empty metal can, is a good option as it is less likely to be affected by the heat produced by the flare.
Flammable Material
The main component of an emergency flare is a flammable material that can produce a bright and long-lasting flame. One commonly used flammable material is a mix of potassium nitrate and sugar. This mixture, also known as “rocket candy,” is easy to make and can provide a reliable source of ignition for your emergency flare.
Ignition Source
You will need an ignition source to kickstart the burning process of your DIY emergency flare. A simple and effective ignition source is a non-electric match. These matches have a red phosphorus coating on the side, which ignites when struck against a rough surface. Alternatively, you can use a small sparkler or a flint starter to create the initial spark.
Protective Gear
Safety should be your top priority when making and using a DIY emergency flare. Protective gear is essential to prevent any accidents or injuries. It is recommended to wear heat-resistant gloves to protect your hands from the heat of the flare. Additionally, safety glasses or goggles are important to shield your eyes from any flying debris or sparks.
Preparing the Container
Choosing the Container
When choosing a container for your DIY emergency flare, consider the size and material. The container should be large enough to hold the flammable material and allow for proper ventilation. Metal containers, such as empty paint cans or coffee tins, are a good choice as they can withstand the heat generated by the flare. Ensure that the container has a lid that can be securely sealed to prevent any leakage.
Cleaning the Container
Before using the container, it is important to clean it thoroughly. Remove any residues or contaminants that may interfere with the burning process. Wash the container with soap and water, and rinse it well to remove any remaining residue. Let the container dry completely before proceeding to the next step.
Sealing the Container
To ensure the safety and effectiveness of your DIY emergency flare, it is crucial to seal the container properly. Use a strong adhesive, such as high-temperature-resistant tape or silicone sealant, to seal any openings or gaps. This will prevent any leakage of the flammable material and help contain the flame within the container during ignition.

Preparing the Flammable Material
Selecting the Flammable Material
The flammable material used in a DIY emergency flare should be able to produce a bright and long-lasting flame. One popular choice is a mixture of potassium nitrate and sugar, commonly known as “rocket candy.” This combination provides a stable and reliable burn, making it ideal for emergency situations. However, it is important to handle this mixture with caution as it can be highly flammable.
Preparing the Flammable Material
To prepare the flammable material, start by measuring the desired amount of potassium nitrate and sugar. The recommended ratio is approximately 3 parts potassium nitrate to 2 parts sugar. Mix the two ingredients together thoroughly, ensuring that they are evenly distributed. This mixture can then be stored in a secure container for later use.
Testing the Flammable Material
Before using the flammable material in your DIY emergency flare, it is important to conduct a test to ensure its effectiveness. Take a small amount of the mixture and ignite it in a safe and controlled environment. Observe the flame produced by the mixture, noting its brightness and duration. If the results meet your expectations, the flammable material is ready to be used in your emergency flare.
Preparing the Ignition Source
Choosing an Ignition Source
The ignition source is crucial in starting the burning process of your DIY emergency flare. A non-electric match is a reliable option as it can be easily ignited by striking it against a rough surface. Another simple but effective choice is a small sparkler, which can produce a strong spark when lit. Alternatively, a flint starter can be used to create a spark that can ignite the flammable material.
Creating the Ignition Source
If you are using a non-electric match as your ignition source, make sure you remove the match head from the stick. This can be done by cutting or scraping away the red phosphorus-coated end. For a small sparkler or flint starter, follow the instructions provided to activate the spark-producing mechanism. Ensure that your ignition source is readily accessible and safely stored until it is needed.

Assembling the DIY Emergency Flare
Adding the Flammable Material to the Container
Carefully pour the prepared flammable material into the container. Fill the container to about three-quarters full to allow for expansion during the burning process. Take caution not to spill or scatter the mixture, as it may ignite unintentionally. If any spillage occurs, clean it up immediately and ensure no flammable material is left outside the container.
Inserting the Ignition Source
Place the chosen ignition source, such as a non-electric match or sparkler, into the flammable material. Ensure that the ignition source is positioned in a way that it can easily ignite the material when required. Avoid placing the ignition source too close to the container’s opening to prevent any accidental ignition before it is intended.
Sealing the Container
Once you have added the flammable material and inserted the ignition source, securely seal the container. Use the adhesive or sealant previously chosen to seal any openings or gaps in the lid. This will minimize the risk of leaking and help contain the flame within the container during ignition.
Testing and Safety Precautions
Testing the DIY Emergency Flare
Before relying on your DIY emergency flare in an actual emergency situation, it is essential to conduct a test to ensure its functionality. Find a safe and open area away from any flammable materials or structures. Ignite the flare by using the ignition source, and observe the flame and its brightness. Ensure that the flare burns steadily and emits a bright light. If any issues arise, adjust your materials or assembly process accordingly.
Safety Precautions to Take While Using the Flare
Safety should always be the top priority when using a DIY emergency flare. If you find yourself in an emergency situation and need to use the flare, keep the following precautions in mind:
- Find a safe location away from any flammable materials, structures, or vegetation.
- Hold the flare and the container securely to prevent any accidental dropping.
- Keep a safe distance from the ignited flare to avoid burns or injuries.
- Keep the flare away from your face and body to prevent any accidental contact with burning material or sparks.
- Dispose of the flare safely after it has burned out completely to avoid any risk of re-ignition.
Using the DIY Emergency Flare
Find a Safe Location
When using a DIY emergency flare, it is crucial to find a safe location away from any potential hazards. Look for an open area with enough space to safely ignite and hold the flare without risking any accidental fires or injuries. Avoid using the flare near inflammable materials, structures, or vegetation.
Igniting the Flare
To ignite the DIY emergency flare, use the ignition source you have prepared. Follow the instructions provided earlier to ensure a successful ignition. Hold the ignition source against the flammable material and strike it against a rough surface or activate the spark-producing mechanism. Apply steady pressure and movement until the flammable material catches fire.
Signaling for Help
Once the flare is ignited, hold it high above your head and swing it in a circular motion. The bright flame produced by the flare will serve as a visible signal to attract attention. If possible, create a pattern with the flare’s movement to distinguish it from other sources of light. Remember to stay alert and observe your surroundings while signaling for help.
Storage and Maintenance
Proper Storage of the DIY Emergency Flare
After making a DIY emergency flare, it is important to store it properly to maintain its effectiveness. Store the flare in a cool, dry place away from any direct sunlight or extreme temperatures. Keep it in a secure and easily accessible location, away from the reach of children or unauthorized individuals. Regularly check the condition of the flare and replace it if there are any signs of damage or deterioration.
Maintaining the Flare for Emergency Situations
To ensure the reliability of your DIY emergency flare, conduct regular maintenance checks. Inspect the container for any signs of damage, such as leaks or cracks. Verify that the flammable material is securely sealed and has not been contaminated. Check the expiration date on the ignition source, and replace it if necessary. By performing these checks, you can ensure that your DIY emergency flare is always ready for use in an emergency situation.
Alternative DIY Emergency Flares
Other Flammable Materials to Consider
While the potassium nitrate and sugar mixture is a commonly used flammable material for DIY emergency flares, there are other options worth considering. Magnesium shavings, for example, can produce a strong and long-lasting flame when ignited. Paraffin wax or petroleum jelly-soaked cotton balls are also alternative flammable materials that can be used in emergency flare compositions. Ensure that you properly research and understand the properties and safety precautions associated with these materials before using them in your DIY emergency flare.
Alternative Ignition Sources
While non-electric matches, sparklers, and flint starters are commonly used as ignition sources, there are other alternatives available. Ferrocerium rods, also known as fire starters or firesteel, are small rods made from a metallic alloy that produces sparks when struck against a rough surface. These rods are often more durable and long-lasting compared to traditional matches or sparklers. Other options include fire pistons, which use the compression of air to ignite a small piece of flammable material, or even small handheld torches equipped with a flint or piezoelectric ignition system.
Conclusion
Knowing how to make a DIY emergency flare can be a valuable skill, providing you with a useful tool for signaling for help in emergency situations. By carefully selecting and preparing the container, flammable material, and ignition source, you can create a reliable and effective emergency flare. Remember to always prioritize safety and conduct regular tests to ensure the functionality of your DIY emergency flare. With the proper storage and maintenance, your DIY emergency flare will be ready to assist you when needed.