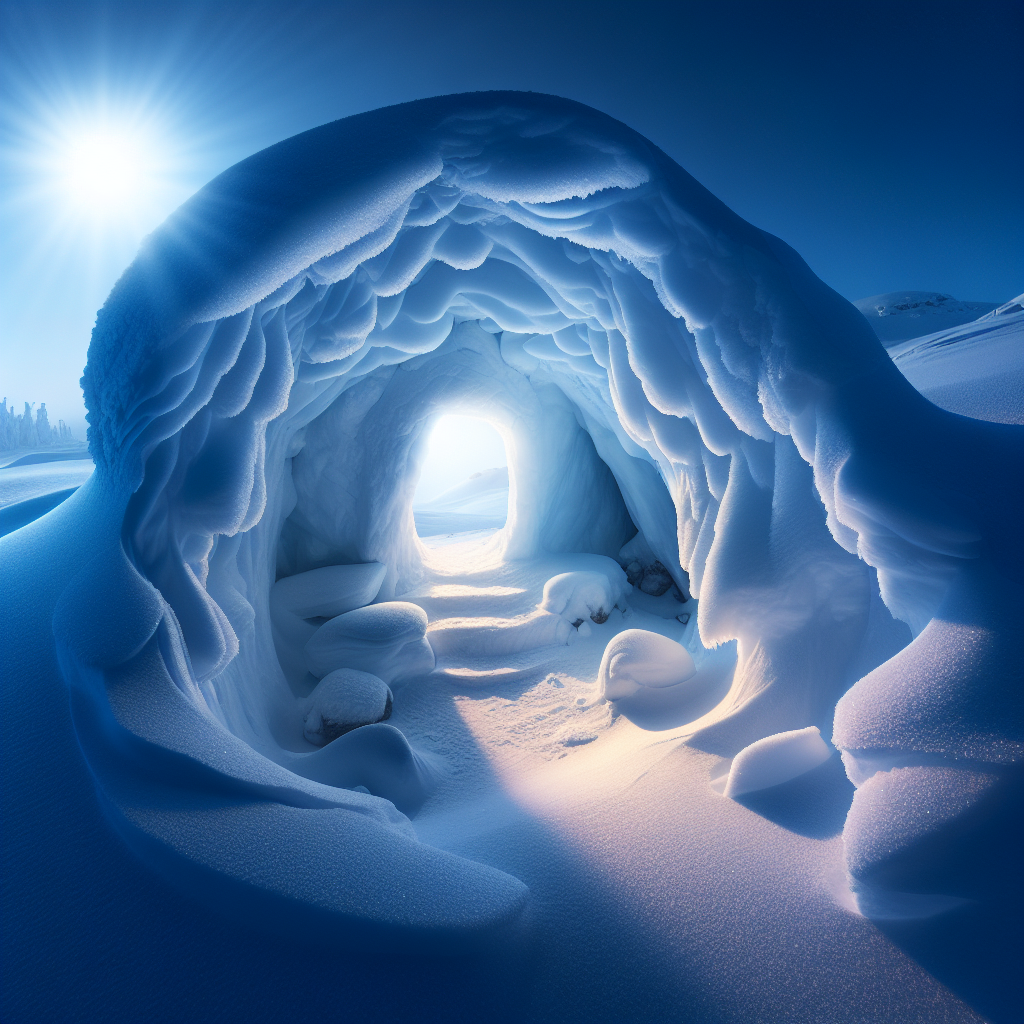
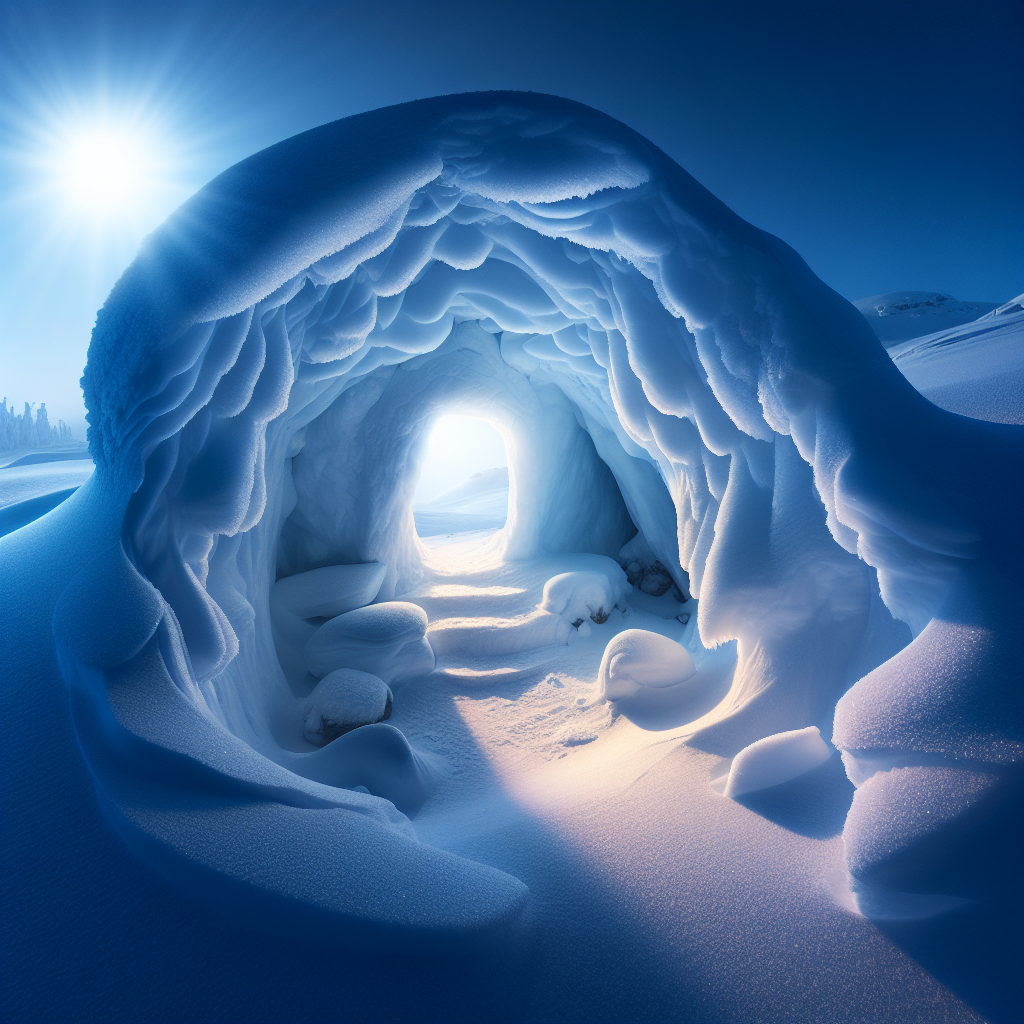
Imagine being stuck in a snowy wilderness with no shelter in sight. The biting cold starts to seep into your bones as you desperately search for a way to stay warm. In such dire situations, knowing how to build a snow cave for shelter can be a lifesaver. This article will guide you through the process, providing you with step-by-step instructions on constructing a sturdy and insulated snow cave that can protect you from the harsh elements. With just a few simple techniques and a bit of patience, you’ll have a safe haven amidst the frozen landscape. So, grab your gloves and let’s get started on this incredible snow cave-building adventure.

Choosing the Right Location
When it comes to building a snow cave for shelter, choosing the right location is crucial. The first step is to assess the snow conditions in the area. Look for compacted snow that is at least three to four feet deep. This ensures that the snow is stable and can provide insulation. Avoid areas with loose or powdery snow as they can present risks.
Finding a sheltered area is also important to protect your snow cave from strong winds and potential avalanches. Look for natural barriers such as trees or rocks that can shield your shelter. Avoid steep slopes or areas with heavy snowdrifts as they can be unstable and increase the risk of collapse.
Lastly, it is essential to avoid locations prone to avalanches. Look for areas with a low risk or consult local authorities for information on avalanche-prone zones. Safety should always be a priority when selecting a location for your snow cave.
Gathering the Necessary Tools and Materials
Before embarking on building a snow cave, gather the necessary tools and materials. Certain essential tools are crucial for the construction process. These include a shovel, ice axe, saw, and rope. These tools will help with excavation, cutting blocks of snow, and securing the snow cave.
In addition to the essential tools, there are recommended equipment that can make the process easier and more comfortable. These include a snow saw for precise cutting, a snow probe for assessing snow stability, and an avalanche beacon for safety in case of emergencies.
Collecting snow is also an important part of the process. Choose a location with suitable snow for building the cave. Use your shovel to collect compacted snow, ensuring that it is of good quality and not too powdery. Gather enough snow to have ample building material for the entire construction process.
Understanding the Basic Principles
Before diving into the construction process, it is crucial to understand the basic principles of building a snow cave. Snow has excellent insulating properties, which makes it an ideal material for a shelter. When properly utilized, it can provide warmth and protection against the cold.
One important principle is to create a cold trap. A cold trap is a lower area in the snow cave where the cold air can settle, while the warmer air stays higher up. This helps in maintaining a comfortable temperature inside the cave.
Maintaining proper ventilation is also essential. Although a snow cave is airtight, it is important to have ventilation to prevent condensation and maintain airflow. This can be achieved by creating an air vent in the roof of the snow cave.
Preparing the Site
Once you have chosen the ideal location, it’s time to prepare the site for building your snow cave. Clear the area of any debris or obstacles. This will ensure a clean and level surface for your snow cave. Remove any loose snow or rocks that may interfere with the construction process.
Marking the outline of your snow cave is the next step. Use your shovel or other tools to mark the desired size and shape of the snow cave. This will serve as a guide during the excavation process and help maintain a consistent structure.
Digging the entrance is the last step in preparing the site. Create a tunnel leading into the snow cave. Make sure the tunnel is wide enough for easy access but narrow enough to retain heat inside the cave. The entrance tunnel should slope downward to prevent snow from entering the main living area.

Digging the Snow Cave
With the site prepared, it’s time to start digging the snow cave. Begin by creating an entrance tunnel. Use your shovel to remove snow, gradually widening the tunnel as you progress deeper into the snowbank. This tunnel will serve as the main entry point to your snow cave.
After creating the entrance tunnel, excavate the main living area. Start from the ceiling and work your way down, removing snow from the top and sides. As you dig, shape the cave to accommodate your needs, ensuring there is enough space for sleeping, sitting, and storing your gear.
Designing sleeping platforms is another important step in digging the snow cave. Create elevated platforms along the walls of the cave for sleeping. These platforms should be large enough to fit your sleeping bag or pad and provide insulation from the cold ground.
Shaping the Interior
Once the main structure of the snow cave is complete, it’s time to shape the interior for comfort and functionality. Begin by smoothing the walls and ceiling of the cave. Remove any uneven surfaces or sharp edges to create a more comfortable environment.
Building a snow shelf is a great addition to the snow cave. This shelf can be used to store gear and supplies, keeping them off the ground and organized. Use blocks of snow to construct the shelf against one of the walls of the cave.
Carving seats and storage spaces is another way to enhance the interior of the snow cave. Create recessed areas in the walls or carve out small shelves for seating or storing smaller items. This will provide additional comfort and utility within your shelter.
Adding the Finishing Touches
With the interior shaping complete, it’s time to add the finishing touches to your snow cave. Creating an air vent is essential for ventilation. Use your tools to cut a small hole in the roof of the snow cave. This will allow fresh air to enter while ensuring proper airflow and preventing condensation.
Covering the entrance is important to retain warmth inside the snow cave. Use blocks of snow or snowbricks to seal the entrance. This will keep cold air out and prevent snow from entering the living area. Make sure the entrance cover is secure and snug.
Making reinforcements is the final step in adding the finishing touches. Use your tools to reinforce the walls, ceiling, and entrance of the snow cave. This will provide added stability and structural integrity. Check for any weak spots and reinforce them accordingly.
Understanding Safety Precautions
When building and using a snow cave, it is essential to prioritize safety. Avoid overexertion during the construction process. Take breaks, stay hydrated, and be mindful of your energy levels. Building a snow cave can be physically demanding, so listen to your body and pace yourself.
Monitoring air quality is another crucial safety precaution. The airtight nature of a snow cave can lead to a buildup of carbon dioxide, potentially causing respiratory issues. Keep a carbon dioxide detector inside the cave and regularly check the air quality to ensure safety.
Knowing emergency procedures is vital in case of unforeseen circumstances. Familiarize yourself with rescue signals, emergency contacts, and any local protocols. It’s better to be prepared and aware of the necessary steps to take during emergency situations.
Maintaining the Snow Cave
Once your snow cave is constructed, it’s important to regularly maintain it for optimal performance and safety. Regular snow removal is necessary to prevent excessive weight on the cave and potential collapse. Use your tools to remove any accumulated snow from the roof and walls of the cave.
Preventing icing is another maintenance task. Ice can form on the interior surfaces of the snow cave due to condensation. Regularly monitor and remove any ice buildup to maintain a dry and comfortable environment inside the cave.
Checking the structural integrity of the snow cave is crucial for continued safety. Inspect the walls, ceiling, and entrance for any signs of weakness or deterioration. If any issues are identified, make the necessary repairs or reinforce the area to ensure the stability of the snow cave.
Alternative Snow Shelters
While a snow cave is a popular choice for winter shelters, there are other alternatives worth considering. Creating a snow trench involves digging a long trench in the snow and covering it with a tarp or an insulated material. This can provide a quick and simple shelter option.
Building a snow quinzhee is another alternative. This involves piling snow into a large mound and then hollowing it out. The quinzhee offers insulation and can be a fun and creative option for shelter.
Constructing a snow igloo is a more advanced option for winter shelter. It involves carefully cutting and stacking snow blocks to create a domed structure. Snow igloos can provide excellent insulation but require more skill and effort to construct.
In conclusion, building a snow cave for shelter can be a rewarding and practical skill to have in winter environments. By choosing the right location, gathering the necessary tools and materials, and understanding the basic principles, you can create a safe and comfortable shelter in the snow. Remember to take safety precautions, maintain your snow cave, and consider alternative snow shelters for different situations. Stay warm and enjoy your winter adventures!

