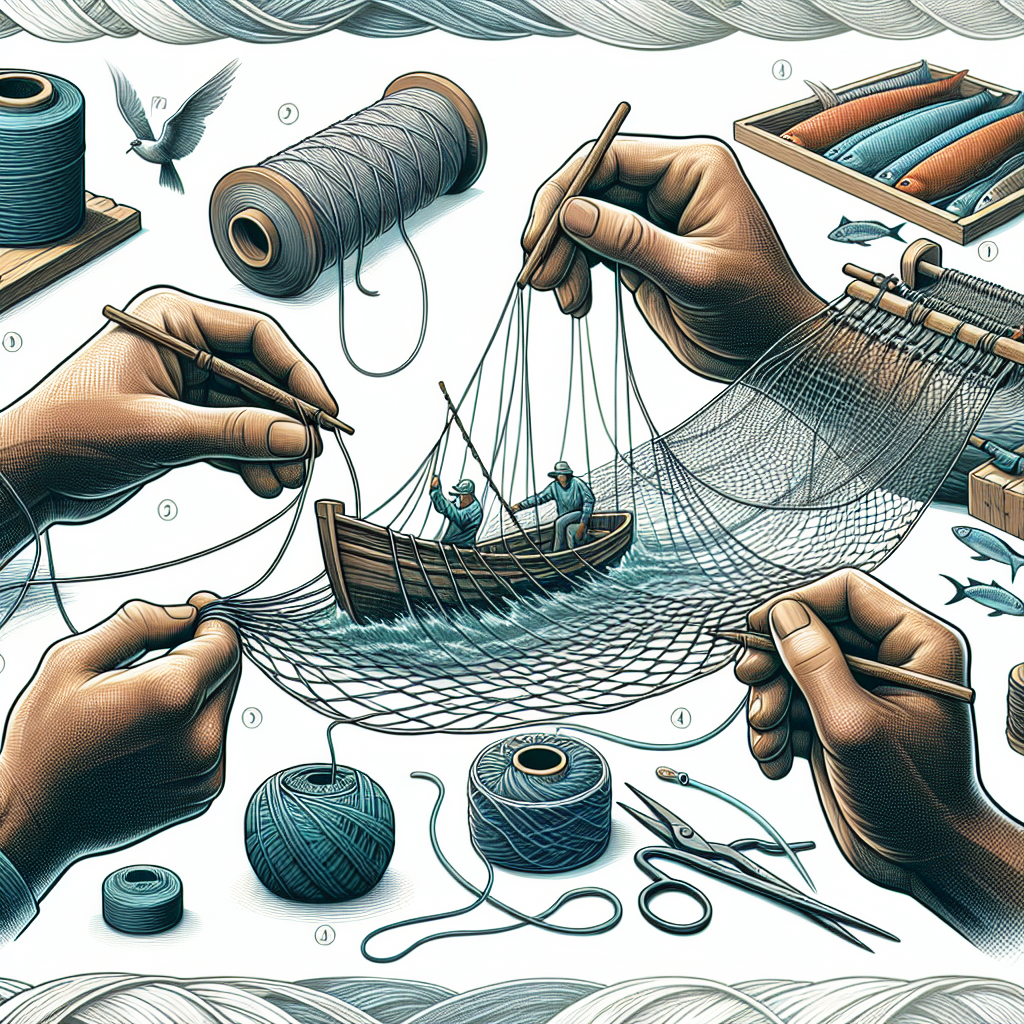
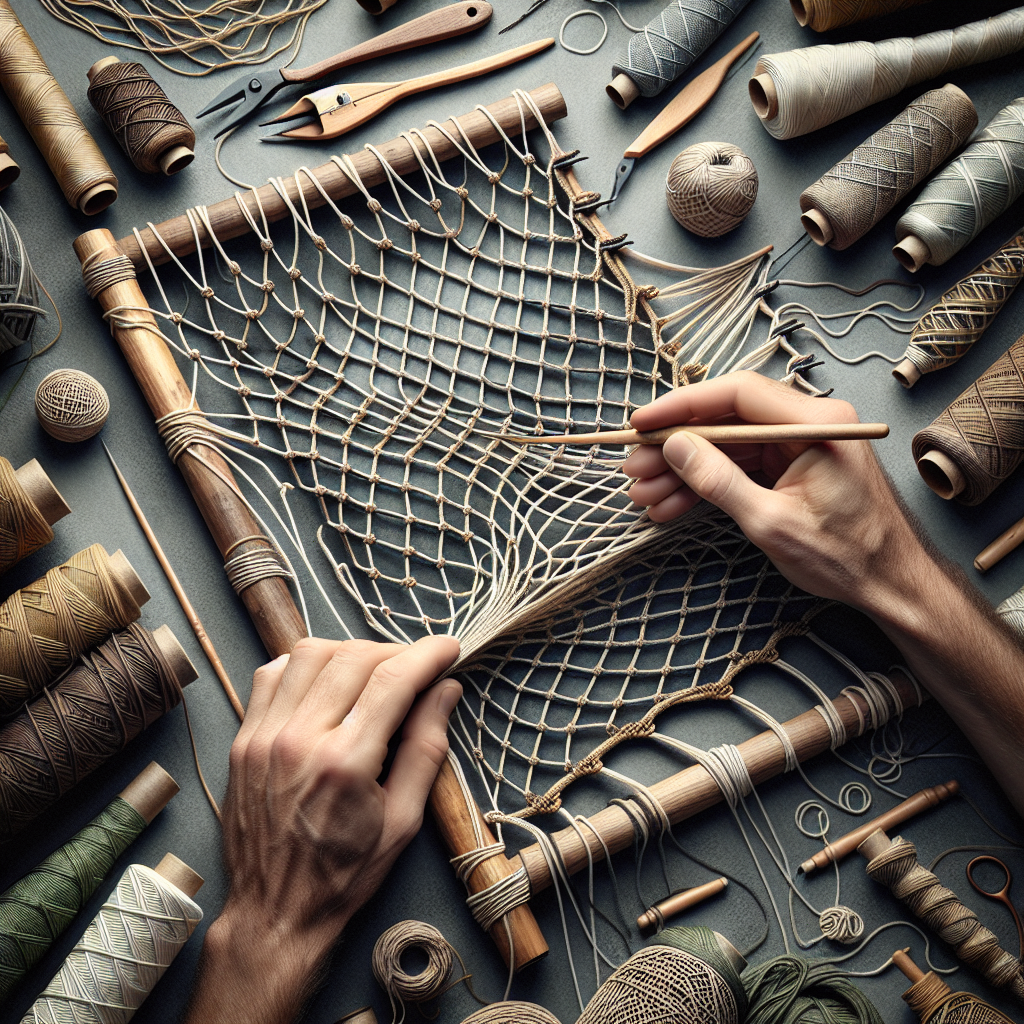
Imagine being able to catch your own fish anytime you want, without having to rely on store-bought equipment. With a little bit of creativity and some basic materials, you can learn how to make your own fishing nets. Whether you’re an experienced angler or a beginner looking to explore a new hobby, this article will guide you through the simple steps of creating your very own fishing nets. From selecting the right kind of netting to mastering the art of knot tying, get ready to embark on a fun and rewarding journey into the world of handmade fishing gear. So grab your tools and get ready to reel in those big catches – it’s time to start crafting your own fishing nets!
Materials Needed
Before diving into the process of making your own fishing nets, gather all the necessary materials. Here’s a list of what you’ll need:
1. Nylon twine
Nylon twine is a durable and strong material that is perfect for making fishing nets. Make sure to choose a twine that has a high tensile strength to ensure longevity and durability.
2. Netting Needles
Netting needles are essential tools for creating fishing nets. They come in different sizes and shapes, allowing you to customize your net depending on the type of fish you plan to catch.
3. Scissors
A good pair of scissors is necessary for cutting and trimming the twine. Make sure your scissors are sharp to ensure clean cuts.
4. Fishing Corks
Fishing corks are used to provide buoyancy to the net. They help keep the net afloat while fishing and prevent it from sinking in the water.
5. Weights
Weights are important for keeping the net submerged in the water. They provide stability and help the netting sink to the desired depth.
6. Measuring Tape
Accurate measurements are crucial when creating fishing nets. A measuring tape will help you determine the size and dimensions of your net.
Choosing the Right Twine
Selecting the right twine is essential for making a high-quality fishing net. Consider the following factors when choosing your twine:
Strength and Durability
Opt for a strong and durable twine that can withstand the weight and pressure of the fish you plan to catch. Nylon twine is known for its strength and resistance to abrasion, making it an excellent choice.
Mesh Size
The size of the mesh will depend on the type of fish you’re targeting. Smaller mesh sizes are suitable for smaller fish species, while larger mesh sizes are more suitable for larger fish.
Color and Visibility
While the color of the twine may seem like a minor detail, it can impact the success of your fishing. Choose a color that blends well with the water to increase the net’s invisibility and improve your chances of a successful catch.

Creating the Framework
Now that you have your materials ready, it’s time to create the framework for your fishing net. Follow these steps to get started:
Determining the Size
First, decide on the size of the net you want to make. Consider the location and the type of fish you’ll be targeting. A larger net may be suitable for open waters, while a smaller net may be more appropriate for confined areas.
Preparing the Hoop
Take your measuring tape and measure the desired circumference of the hoop. Once measured, use the nylon twine to create a loop, ensuring it is tightly secured.
Attaching the Frame
With the hoop prepared, take the netting needles and attach the nylon twine to the hoop. Space out the attachment points evenly around the hoop to ensure the netting is properly supported.
Starting the Net
The framework is in place, and now it’s time to start creating the net. Follow these steps to begin:
Tying the First Knot
Take the nylon twine and tie a secure knot at one end of the hoop. This will serve as the starting point for your netting.
Creating Mesh Openings
To create the mesh openings, start by measuring and marking the desired distance between each opening. Use the netting needle to create loops around the hoop at the marked points, ensuring they are evenly spaced.
Calculating Mesh Size
To calculate the size of each mesh, consider the mesh size you determined earlier. Take into account the desired shape and flexibility of the net. Continue creating the mesh openings until you reach the other end of the hoop.

Knitting the Net
Now that you have the framework and the mesh openings, it’s time to knit the net together. Here’s how:
Basic Netting Knot
The basic netting knot is used to connect the mesh openings and create the net pattern. Start by attaching the twine to the first mesh opening, then loop it around the adjacent mesh opening. Pull the twine tight to secure the knot and continue this process throughout the net.
Working with the Mesh
As you knit the net, ensure that the mesh openings remain consistent in size and shape. Adjust the tension of the netting knots to create a uniform pattern and avoid loose or tight sections.
Maintaining Consistency
Consistency is key when knitting the net. Pay attention to details such as knot tension, mesh size, and spacing. Consistent netting will result in a strong and reliable fishing net.
Adding Floats and Weights
To make your net efficient and effective, you’ll need to add floats and weights. Here’s what you need to know:
Attaching Fishing Corks
Attach fishing corks to the top of the netting to provide buoyancy. The number of fishing corks needed will depend on the size and weight of your net. Secure the corks tightly but ensure they are evenly distributed along the top perimeter of the net.
Securing Weights
Attach weights to the bottom of the netting to keep it submerged underwater. The number and size of weights will depend on the type of fish you’re targeting and the desired fishing depth. Distribute the weights evenly across the bottom perimeter of the net.
Balancing the Net
It’s essential to achieve a balance between the floats and weights to ensure the net hangs correctly in the water. Adjust the number of floats and weights as necessary to achieve optimal balance and control.
Finishing Touches
As you near the completion of your fishing net, it’s important to add some final touches. Pay attention to these details:
Trimming Excess Twine
Once the net is knitted, trim any excess twine from the finished edges. This will give your net a clean and professional appearance,
Securing Knots
Inspect the knots throughout the net and make sure they are tight and secure. Reinforce any loose knots to prevent them from unraveling during use.
Inspecting for Weak Points
Take a thorough look at the net, checking for any weak points or areas that may need reinforcement. Repair any damaged mesh openings or knots to ensure the net’s durability and longevity.
Caring for Your Net
To keep your fishing net in top condition, you need to properly care for it. Follow these tips:
Cleaning and Drying
After each use, rinse your fishing net with freshwater to remove any debris or saltwater residue. Allow it to air dry completely before storing to prevent the growth of mold or mildew.
Repairing Damaged Areas
Regularly inspect your net for any signs of wear and tear. Repair any damaged areas immediately to prevent further damage and maintain the net’s effectiveness.
Storing Properly
When not in use, store your fishing net in a cool, dry place away from direct sunlight. Avoid folding or crumpling the net to prevent damage to the mesh and knots.
Alternative Net-Making Techniques
While the traditional method outlined above is most commonly used, there are alternative net-making techniques you may want to explore:
Using Monofilament
Monofilament nets are made from a single strand of filament, providing superior strength and invisibility. This type of net is excellent for catching fish that are more sensitive to visibility.
Understanding Gill Nets
Gill nets are designed to entangle fish by their gills. They can be more effective in specific fishing scenarios, targeting specific species or sizes of fish.
Exploring Cast Nets
Cast nets are circular nets with weights around the perimeter. They are thrown onto the water, and as they sink, they gather the fish inside. Cast nets are often used for catching baitfish or small fish.
Safety Precautions
When making your own fishing nets, it’s essential to prioritize safety. Follow these precautions to ensure a safe and enjoyable experience:
Working with Sharp Objects
Be cautious when handling scissors and netting needles. Keep them away from children and always use them responsibly to avoid accidents.
Avoiding Tangles
During the net-making process, be mindful of the twine to prevent tangles. Tangled twine can result in knots that may be difficult to undo or compromise the overall integrity of your net.
Being Mindful of Surroundings
When working near bodies of water, be aware of your surroundings. Always ensure a safe distance from the water’s edge and be cautious of slippery surfaces that could lead to falls or accidents.
By following these guidelines, you’ll be well on your way to creating your own fishing net. Remember to enjoy the process and have fun while crafting a tool that will enhance your fishing experience. Happy net-making and tight lines!

