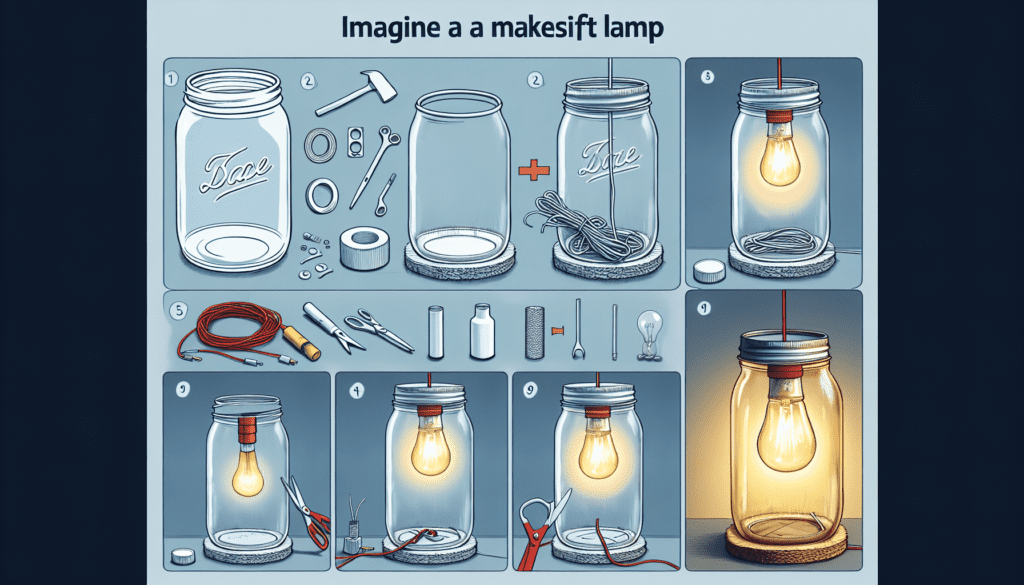
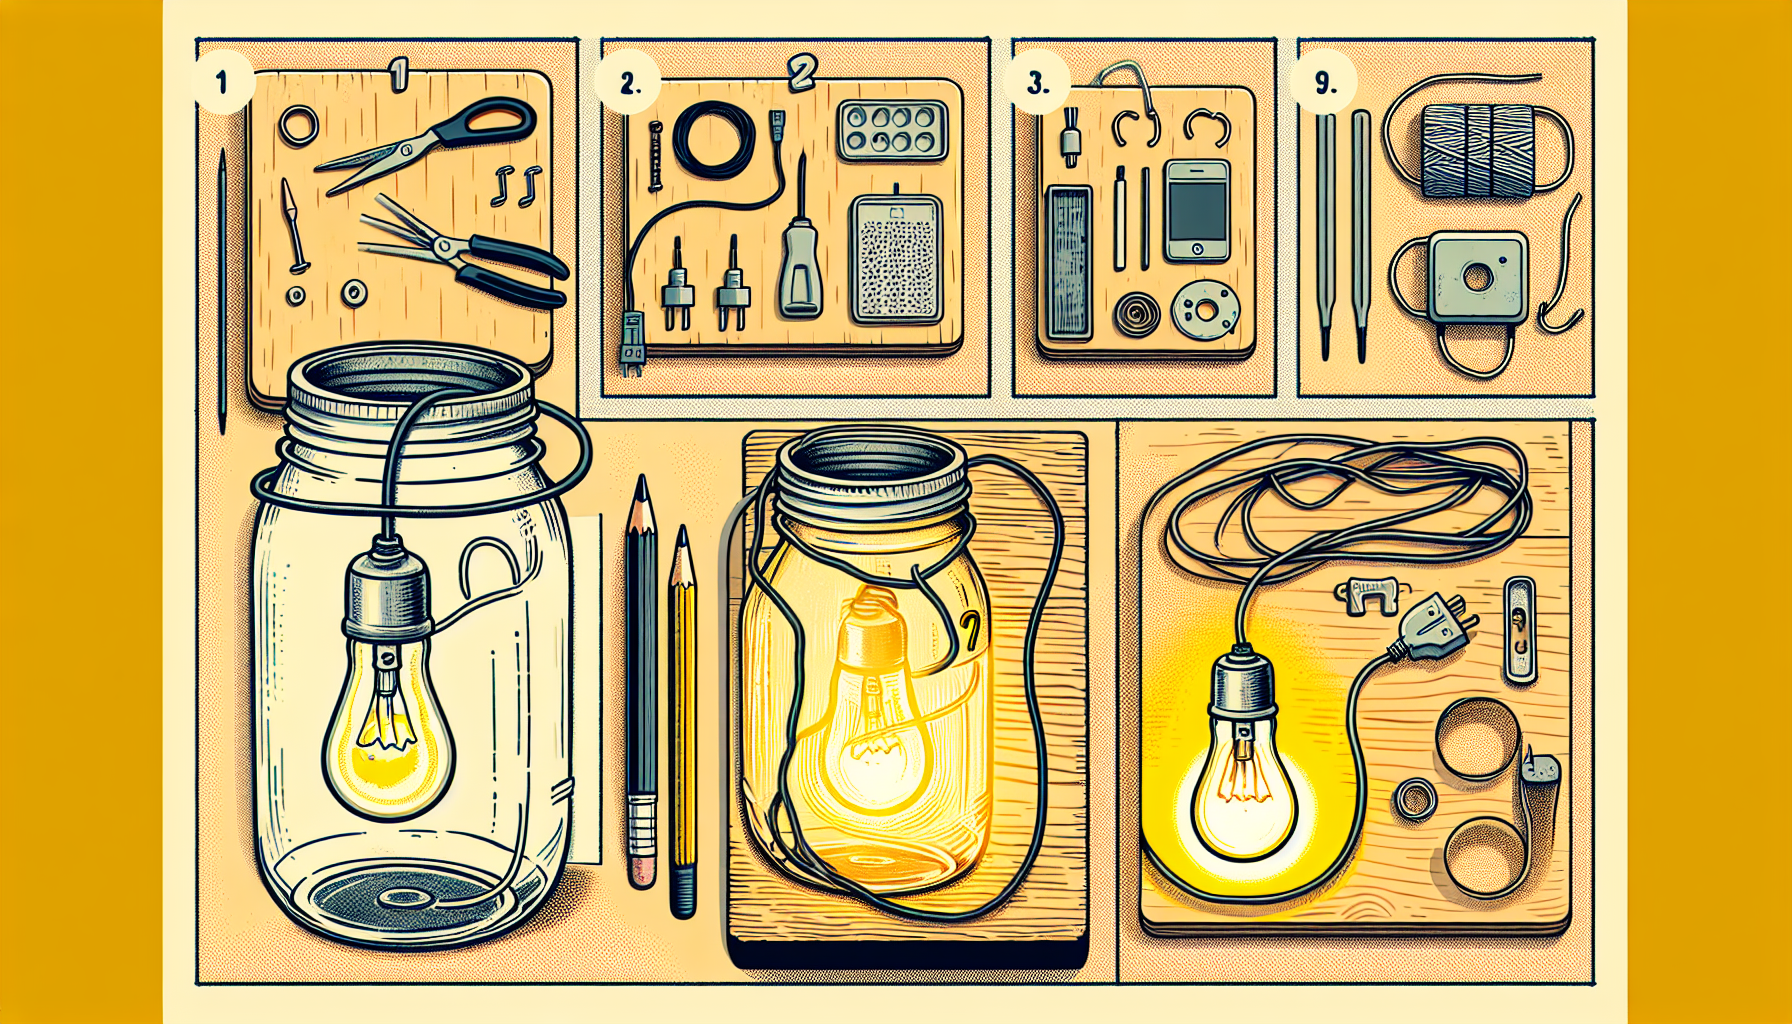
Imagine you find yourself in a situation where there is no electricity, and you desperately need light. Instead of stumbling around in the dark, wouldn’t it be handy if you could quickly create your own makeshift lamp? In this article, you will discover a simple and ingenious method to make a makeshift lamp for lighting, using only basic household items. With just a little creativity and resourcefulness, you’ll be able to shed some much-needed light on any dark situation.
Materials Needed
To make a makeshift lamp for lighting, you will need the following materials:
1. Plastic bottle
The first material you will need is a plastic bottle. It is preferable to use a clear bottle, as it allows the light to shine through more effectively.
2. Knife or scissors
Next, you will need a knife or a pair of scissors to cut and shape the plastic bottle for the lamp.
3. Candle or LED light
You will need a light source for your makeshift lamp. You can choose to use either a traditional candle or an LED light, depending on your preference and availability.
4. Electrical tape or duct tape
To secure the components of your lamp and prevent any accidents, you will need electrical tape or duct tape.
5. Wire or string
To create a handle for your lamp, you will need a durable wire or string.
6. Matches or lighter
If you choose to use a candle as your light source, you will need matches or a lighter to ignite the candle.
7. Aluminum foil
Lastly, you will need aluminum foil to enhance the lighting of your makeshift lamp.
Preparing the Bottle
Now that you have gathered all the necessary materials, it’s time to prepare the plastic bottle for your lamp.
1. Choose the Right Bottle
Start by selecting a suitable plastic bottle for your makeshift lamp. The size of the bottle can depend on your preference, but a standard size water bottle should work well.
2. Remove Labels and Clean the Bottle
Before you begin working on the bottle, make sure to remove any labels or stickers that may be attached. This will help create a cleaner and more aesthetically pleasing lamp. Additionally, clean the bottle thoroughly to remove any dirt or residue.
3. Cut an Opening in the Bottle
Using a knife or scissors, carefully cut an opening near the top of the bottle. The size of the opening should be big enough to hold the light source securely.
4. Create Holes for Ventilation
To ensure proper ventilation and prevent the buildup of heat, use a small sharp object to create a few holes near the top of the bottle. This will allow the lamp to function safely and efficiently.

Inserting the Light Source
Now that the bottle is prepared, it’s time to insert the light source into the lamp.
1. Select the Type of Light Source
Choose whether you want to use a candle or an LED light as the source of illumination. LED lights are safer and more convenient, but candles can provide a cozy ambiance.
2. Position the Light Source
Place the chosen light source inside the bottle, ensuring that it is securely positioned and centered within the opening.
3. Secure the Light Source
To keep the light source in place, use electrical tape or duct tape to fasten it to the inside of the bottle. This will ensure that it stays in position and doesn’t move while the lamp is in use.
Creating a Handle
Adding a handle to your makeshift lamp will make it easier to carry and transport.
1. Determine the Location for the Handle
Decide where you want the handle to be positioned on the lamp. It’s usually best to position it near the top of the bottle for balance and stability.
2. Make Holes for the Handle
Using a sharp object, make two holes on opposite sides of the bottle, aligned with the chosen handle position. These holes should be big enough to fit the wire or string through.
3. Attach the Wire or String
Thread a piece of durable wire or string through the holes, creating a handle for your lamp. Secure the ends of the wire or string by tying knots or using tape on the inside of the bottle.

Enhancing the Light
To improve the lighting of your makeshift lamp, you can use aluminum foil.
1. Using Aluminum Foil
Cut a piece of aluminum foil that can cover the inner surface of the bottle. It should be large enough to reflect the light and maximize its brightness.
2. Reflecting Light with the Foil
Carefully place the aluminum foil inside the bottle, ensuring that it covers as much of the inner surface as possible. The foil will reflect the light, creating a brighter and more efficient makeshift lamp.
Adding Stability
To make sure that your makeshift lamp remains stable and safe to use, consider adding some stability factors.
1. Creating a Base
If you want to place the lamp on a flat surface, consider creating a base for it. You can cut out a circle from a piece of cardboard or use a small plate as the base of your lamp.
2. Stabilizing with Weight or Sand
If the lamp tends to tip over easily, you can add weight or sand to the base to improve stability. This will prevent the lamp from falling and causing any accidents.
Safety Precautions
While using a makeshift lamp, it is essential to prioritize safety to avoid any potential risks or hazards.
1. Keep a Fire Extinguisher Nearby
If you choose to use a candle as the light source, it is important to have a fire extinguisher close by in case of an emergency. This will ensure that you can quickly and effectively extinguish any fire that may occur.
2. Place the Lamp on a Stable Surface
Always place your makeshift lamp on a stable surface to avoid any accidental tipping or falling. This will prevent any potential damage or injuries.
3. Keep Out of Reach from Children and Pets
To ensure the safety of children and pets, keep the lamp out of their reach. The components of the makeshift lamp could pose a hazard if mishandled, so it’s important to keep it away from curious hands and paws.
Using the Makeshift Lamp
Now that your makeshift lamp is complete, you can start using it for lighting purposes.
1. Light the Candle or LED
If you have chosen a candle as your light source, light it using matches or a lighter. Ensure that the flame is secure and that there is no risk of it coming into contact with any flammable materials.
If you have opted for an LED light, simply turn it on using the switch or button provided.
2. Adjust the Lighting Intensity
To adjust the lighting intensity of your makeshift lamp, you can experiment with different ways to control the amount of light emitted. For example, you can partially cover the opening with your hand or use additional layers of aluminum foil to dim or enhance the brightness.
3. Turn Off the Lamp
After you have finished using the makeshift lamp, make sure to turn off the light source. This will help save energy and prevent any accidents that may occur if left unattended.
Alternative Designs
If you are interested in exploring different designs for makeshift lamps, here are a few alternatives you can try:
1. Tin Can Lamp
Instead of using a plastic bottle, you can repurpose a tin can as the base for your lamp. Follow similar steps to create the lamp, but ensure that the can is completely clean and free of any sharp edges.
2. Glass Jar Lamp
Using a glass jar can create a unique and charming makeshift lamp. The transparent glass will allow the light to shine through beautifully, providing a cozy and warm atmosphere.
3. Paper Cup Lamp
For a more temporary and disposable option, you can use a paper cup as the base for your makeshift lamp. Make sure to choose a cup that can withstand the heat and securely hold the light source.
Conclusion
Creating a makeshift lamp for lighting purposes can be a fun and practical project. Not only does it provide an alternative lighting solution, but it also allows you to explore your creativity and resourcefulness.
By following the steps outlined in this article, you can easily make your own lamp using common household materials. Remember to prioritize safety by keeping a fire extinguisher nearby, placing the lamp on a stable surface, and keeping it out of reach from children and pets.
Whether you choose a traditional candle or an LED light, your makeshift lamp will provide a warm and comforting glow. Feel free to experiment with enhancing the lighting using aluminum foil or exploring alternative designs using different containers.
Improvise, get creative, and discover the joy of creating your own unique lighting solutions!

