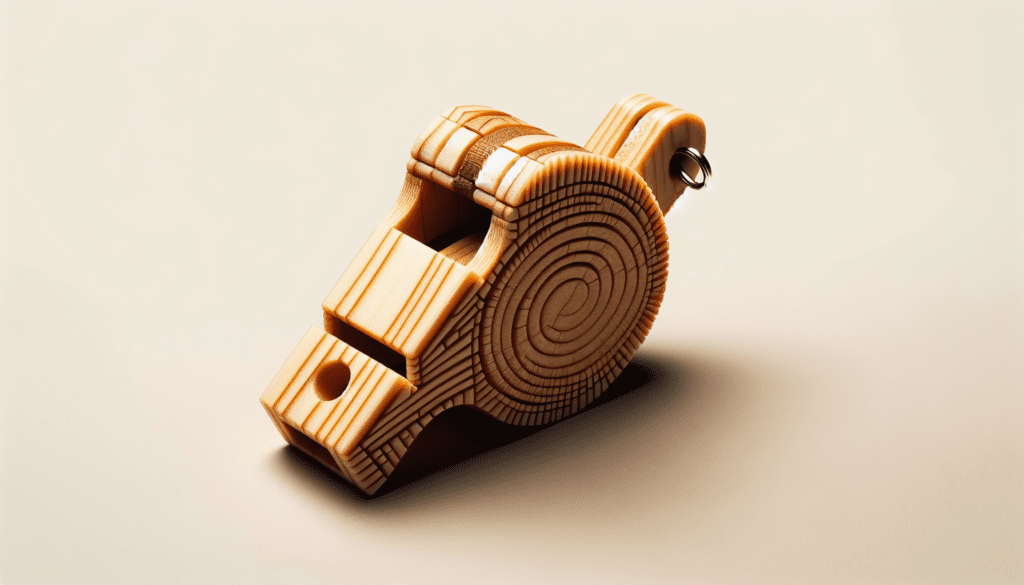
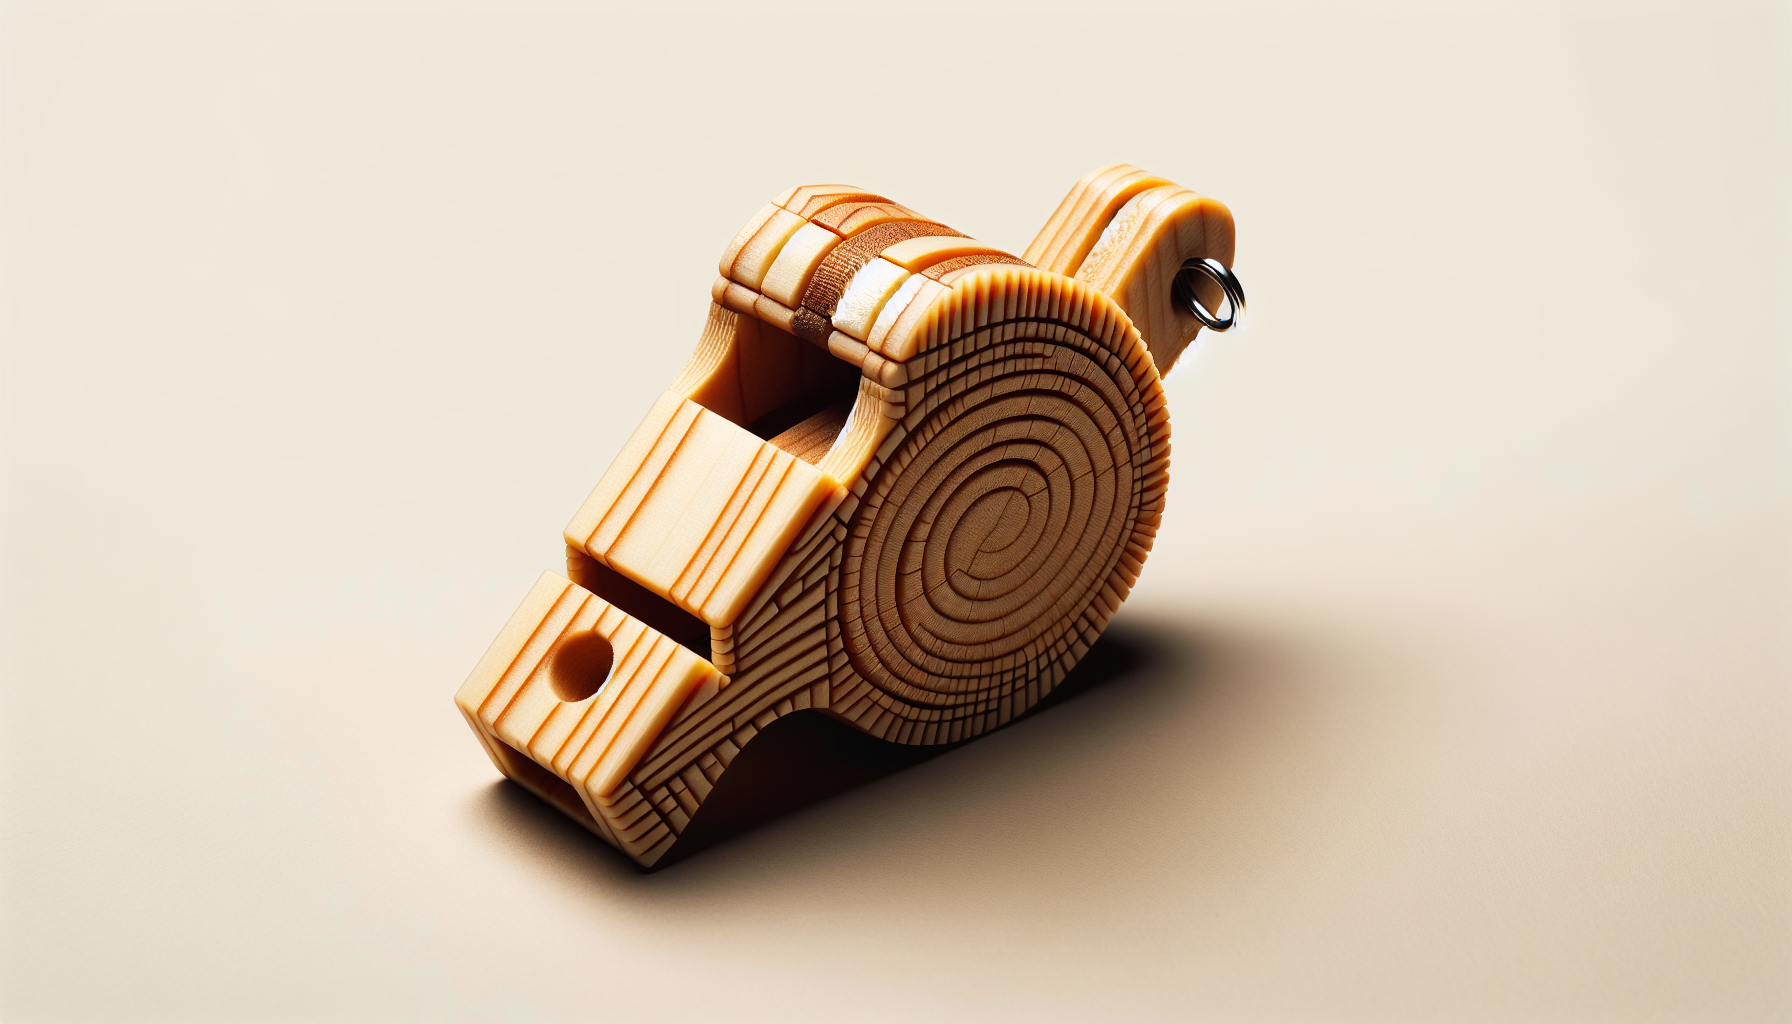
Imagine you are stranded in the wilderness, far away from any form of communication. In this article, we will show you a simple and effective way to make your very own whistle for signaling. Whether you find yourself in a survival situation or simply need a way to attract attention, this do-it-yourself project will come in handy. So gather a few materials and get ready to learn how to make a DIY whistle that could save the day.
Materials Needed
To make your DIY whistle, you will need the following materials:
Empty aluminum can
The aluminum can will serve as the basic structure for your whistle.
Scissors
You will need a pair of scissors to cut and shape the aluminum can.
Marker
The marker will be used to mark the spots where you need to make holes or cut the can.
Pin or nail
A pin or nail can be used to create holes in the aluminum can.
String or cord
You will need a string or cord to attach the whistle to your wrist or neck for easy access.
Tape
Tape will be used to secure the shape of the whistle and ensure a tight fit for the mouthpiece.
Preparing the Can
Before you start creating your whistle, it’s important to prepare the empty aluminum can. Here are the steps to follow:
Wash and dry the can
Clean the can thoroughly to remove any residual liquid or dirt. Dry it completely before proceeding to the next step.
Remove the top and bottom lids
Using scissors, carefully cut off the top and bottom lids of the can. Be cautious as you handle the sharp edges to avoid any injuries.
Cut a rectangular strip from the can
Use scissors to cut a rectangular strip from the body of the can. This strip will be shaped into the whistle later on.
Shape the strip into a whistle
Take the rectangular strip and shape it into a whistle. This will be the main part of your whistle, so take your time to mold it into the desired shape.

Creating the Mouthpiece
The mouthpiece is an essential part of the whistle as it determines the sound quality. Follow these steps to create the mouthpiece:
Mark the location for the mouthpiece
Using a marker, mark the spot on the whistle where you want the mouthpiece to be. This is usually at one end of the whistle.
Punch holes on the marked spots
Using a pin or nail, carefully punch holes on the marked spots. These holes will allow air to enter the whistle, producing sound when blown.
Form the mouthpiece shape
Take the whistle and shape the area around the holes into a mouthpiece. This can be done by gently bending or curving the aluminum strip.
Smooth the edges
To ensure a comfortable user experience, be sure to smooth the edges of the mouthpiece. Use a file or sandpaper to remove any sharp or rough edges.
Making the Sound Chamber
The sound chamber is responsible for amplifying the sound produced by the whistle. Here’s how you can create it:
Mark the spot for the sound hole
Using a marker, mark the spot on the whistle where you want the sound hole to be. This is usually on the opposite end of the whistle from the mouthpiece.
Puncture a hole on the marked spot
Using a pin or nail, puncture a hole on the marked spot. This hole will allow the sound to escape, creating the whistle’s distinct sound.
Create a deeper chamber
To optimize the sound produced, create a deeper chamber by gently pushing the metal inwards behind the sound hole. This will help amplify the sound waves.
Adjust the chamber size
If you want to experiment with different sound qualities, you can adjust the size of the chamber by pushing or pulling the metal around the sound hole.

Adding the Whistle Mechanism
Now it’s time to add the mechanism that will create the whistle sound. Follow these steps:
Make a small slit at the bottom
On the bottom end of the whistle, make a small slit using a pair of scissors. This will allow air to flow through and create the sound.
Fold the strip into a whistle shape
Take the rectangular strip and fold it into the desired whistle shape. This will help direct the airflow and create the desired sound.
Secure the shape with tape
To ensure that the whistle retains its shape, use tape to secure the folded strip. This will prevent it from unraveling and maintain the quality of the sound.
Attaching the Mouthpiece
To ensure that your whistle is ready for use, you need to properly attach the mouthpiece. Follow these steps:
Insert the mouthpiece into the hole
Carefully insert the shaped end of the whistle into the hole you created for the mouthpiece. Make sure it fits snugly to avoid any air leakage.
Ensure it fits tightly
Check that the mouthpiece fits tightly and does not wobble or come loose. A secure fit is crucial for producing clear and powerful whistling sounds.
Smooth any sharp edges
Take the time to smooth any sharp edges around the mouthpiece area. This will prevent any discomfort while using the whistle.
Testing the Whistle
Now that your DIY whistle is complete, it’s time to test it and evaluate the sound quality. Here’s how to do it:
Hold the whistle properly
Hold the whistle firmly between your fingers, ensuring that the mouthpiece is positioned correctly towards your lips.
Blow into the mouthpiece
Take a deep breath and blow into the mouthpiece. Apply consistent pressure to create a steady stream of air.
Adjust the position if needed
If you’re not getting the desired sound or the whistle is not working, try adjusting the position of your lips and how you blow into the mouthpiece. Experiment until you find the right technique.
Evaluate the sound quality
Listen to the sound produced by the whistle. Pay attention to its volume, clarity, and pitch. Make any necessary adjustments to improve the sound quality if needed.
Improving the Whistle
If you want to further enhance your whistle-making skills or experiment with different sound qualities, here are some ideas for improvement:
Experiment with different materials
Try using different materials for your whistle, such as plastic or wood. See how the material affects the sound produced.
Modify the chamber size
By adjusting the size of the sound chamber, you can create different pitches and tones. Experiment with different sizes to find the sound you prefer.
Adjust mouthpiece shape
The shape and size of the mouthpiece can also affect the sound. Try modifying the shape and see how it alters the sound quality.
Test various techniques
Don’t be afraid to try different blowing techniques and finger placements. These subtle changes can have a significant impact on the sound produced.
Using the Whistle for Signaling
Now that you have a fully functional whistle, it can be a valuable tool for signaling in various scenarios. Here’s how to use it effectively:
Understand whistle signals
Familiarize yourself with the common whistle signals used for communication. Different patterns and durations of whistle blows can convey different messages.
Use short bursts for attention
When you want to grab someone’s attention, use short bursts of whistles. This is useful in crowded or noisy environments.
Use long bursts for emergencies
In emergency situations, use long bursts of whistles to signal for help. This is a universal distress signal that can be recognized by others.
Mastering Whistle Techniques
If you want to become proficient in using your whistle, consider mastering some advanced techniques. Here are a few tips to get you started:
Practice controlling the pitch
By varying the pressure and positioning of your lips, you can control the pitch of the whistle. Practice different techniques to achieve different pitches.
Learn different whistle codes
Expand your signaling capabilities by learning different whistle codes and signals. This can be particularly useful in outdoor activities and emergencies.
Train in different environmental conditions
To become truly skilled with your whistle, train in different environmental conditions. Practice in windy conditions, underwater, or in echo-prone areas to adapt your technique.
By following these steps and practicing regularly, you can create your own DIY whistle for signaling. Not only is this a fun project, but it can also be a useful tool in various situations.

