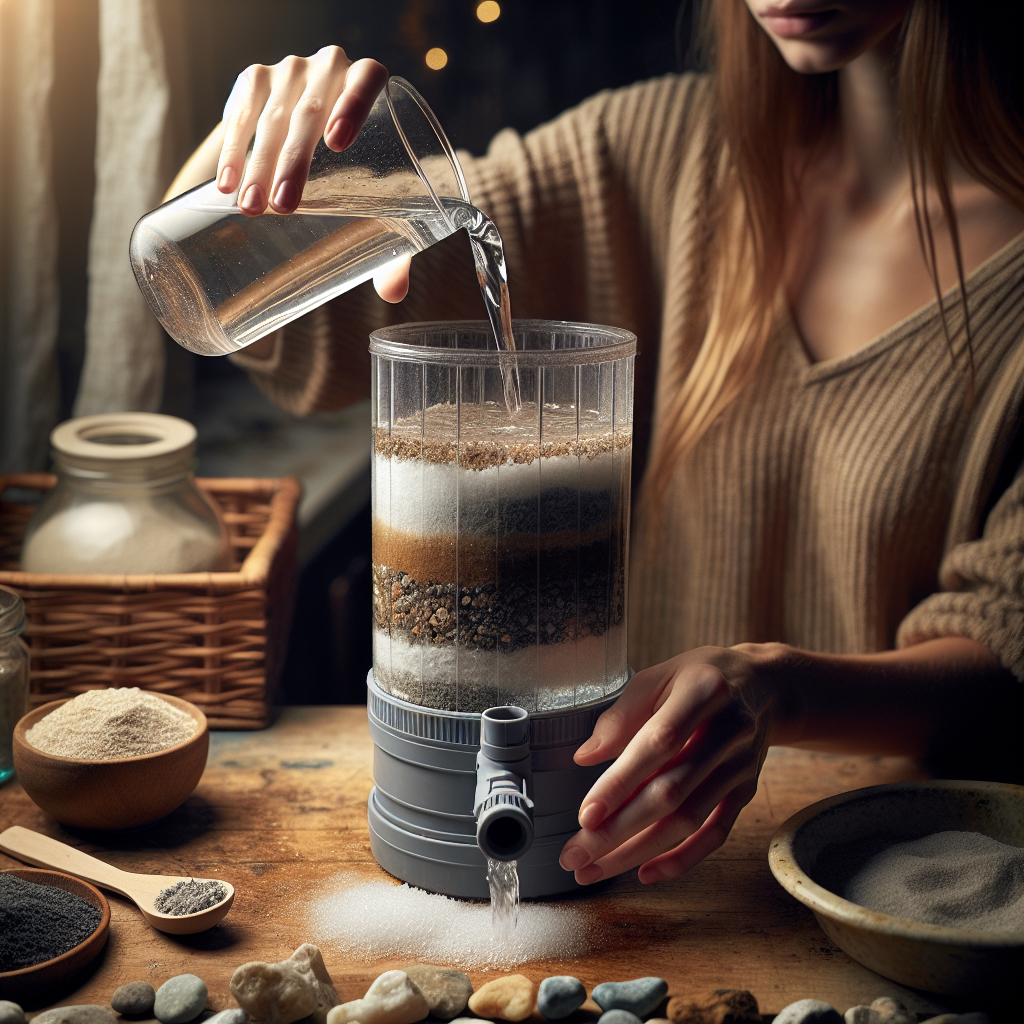
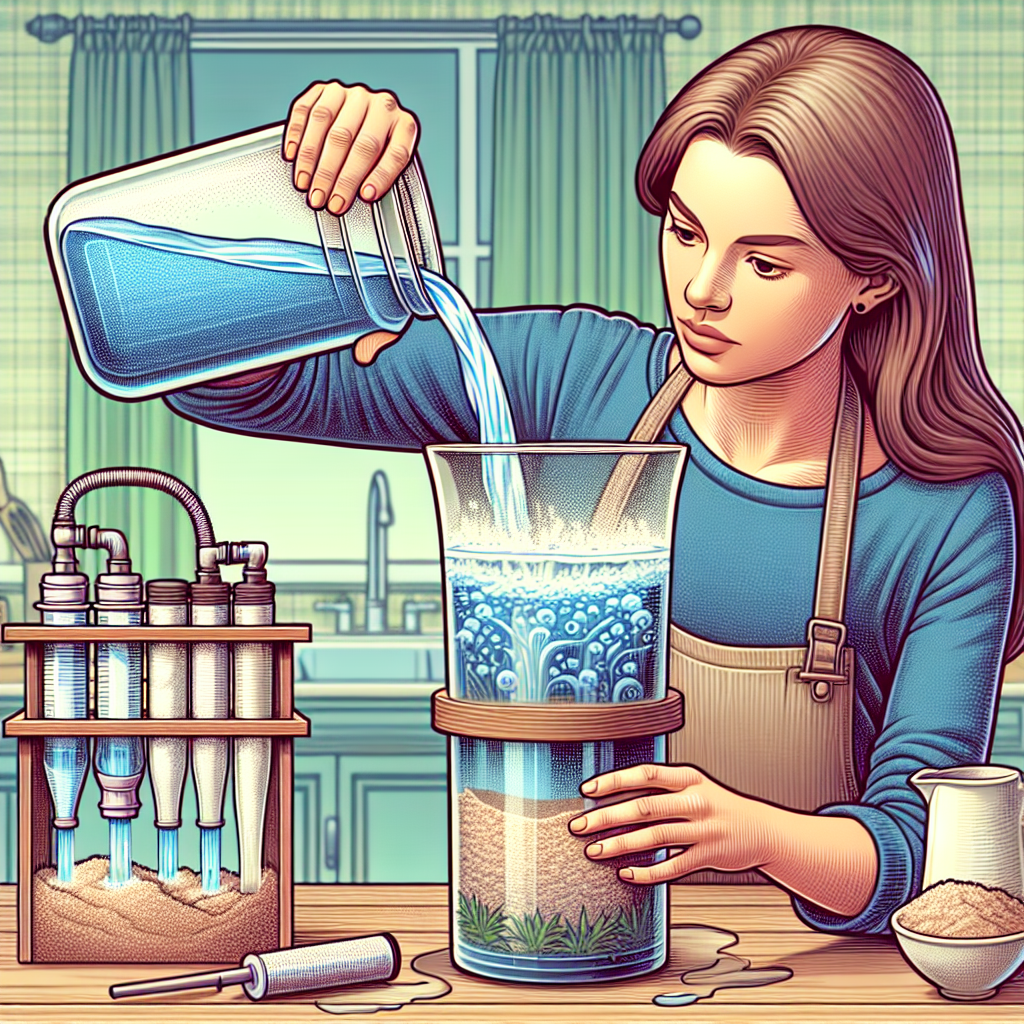
If you’ve ever found yourself in a situation where clean drinking water was not readily available, knowing how to make your own DIY water filter can be a lifesaver. In this article, we will guide you through the simple steps of creating a homemade water filter using easily accessible materials. Whether you’re camping, hiking, or facing a water shortage at home, this guide will show you how to ensure the safety and cleanliness of your water supply in a friendly and approachable way. So let’s dive in and learn how to make a DIY water filter!

Materials Needed
To make a DIY water filter, you will need both construction materials and filtration materials.
Materials for Construction
The materials needed for constructing the water filter include:
- Plastic or metal container: This will serve as the housing for the filter.
- Drill or knife: You will need a drill or a knife to create holes in the container for inlet and outlet pipes.
- Silicone or waterproof sealant: This will help ensure that the filter housing is watertight.
- Screws or glue: Depending on the type of container you use, you may need screws or glue to secure the filter housing.
- Pipe connectors: These will be used to connect the inlet and outlet pipes to the filter housing.
- Water-resistant tape: This will be used to seal any gaps or connections to prevent leakage.
Materials for Filtration
The materials needed for filtration will depend on the method you choose to filter the water. Some common filtration materials include:
- Activated carbon: This is effective in removing organic compounds, chemicals, and odors from the water.
- Sand: Sand can help filter out larger particles and sediment from the water.
- Gravel: Gravel is often used as a support layer for the filter medium.
- Filter paper or fabric: This can be used as an additional filtration layer to remove finer particles from the water.
- Charcoal: Charcoal has excellent filtering properties and can help remove impurities and improve water taste.
Choosing the Right Filtration Method
Before starting the DIY water filter, it is important to understand the different filtration methods available and consider which method suits your needs best.
Understanding Different Filtration Methods
There are various methods of water filtration, including activated carbon filtration, slow sand filtration, and ceramic filtration.
Activated carbon filtration is effective in removing impurities such as chlorine, heavy metals, and chemicals. Slow sand filtration relies on the natural filtration properties of sand to remove microorganisms, sediments, and certain chemicals. Ceramic filtration uses a porous ceramic material that filters out bacteria, parasites, and sediments.
Considerations for Choosing the Method
When choosing a filtration method, consider factors such as the quality of your water source, the desired level of filtration, and the availability of filtration materials. It is also important to consider the maintenance requirements and the cost of the filtration method.
Preparing the Filter Medium
After choosing the filtration method, the next step is to prepare the filter medium. The filter medium is the material that actually filters the water.
Choosing the Filter Medium
Depending on the filtration method chosen, the filter medium could be activated carbon, sand, or ceramic. Consider the specific requirements of your chosen filtration method and ensure you have enough of the filter medium to fill the filter housing.
Pre-treating the Filter Medium
Before using the filter medium, it is recommended to pre-treat it to enhance its performance. For example, activated carbon can be rinsed with clean water to remove any loose particles, and sand can be washed to remove impurities.
Constructing the Filter Housing
The filter housing is where the filter medium will be placed and where the water will pass through for filtration.
Choosing the Filter Housing
The filter housing can be made from a plastic or metal container. Look for a container that is durable and can withstand water pressure. Ensure that the container is clean and free from any contaminants before using it as a filter housing.
Building the Filter Housing
To build the filter housing, start by drilling or cutting holes in the container for the inlet and outlet pipes. These holes should be the appropriate size to accommodate the pipe connectors. Once the holes are made, attach the pipe connectors using screws or glue. Also, ensure that the gaps around the pipe connectors are sealed with silicone or waterproof sealant to prevent leakage.

Installing Inlet and Outlet Pipes
The inlet and outlet pipes are essential components of the water filter, as they allow water to enter and exit the filter.
Determining the Location of Inlet and Outlet
Decide on the best location for the inlet and outlet pipes on the filter housing. Ensure that the inlet pipe is positioned near the bottom of the housing to allow water to flow through the filter medium effectively. The outlet pipe should be placed near the top of the housing to collect filtered water.
Connecting the Pipes to the Filter
Once the location of the inlet and outlet pipes is determined, connect the pipes to the filter housing using the pipe connectors. Make sure the connections are secure and watertight. Use water-resistant tape to seal any gaps or connections to prevent leakage.
Assembling the Water Filter
Now that the filter housing and pipes are ready, it’s time to assemble the water filter.
Placing the Filter Medium in the Housing
Carefully pour the chosen filter medium into the filter housing. Make sure the filter medium is evenly spread and fills the housing. If using multiple layers of filtration materials, follow the specific instructions for layering them correctly.
Attaching the Filter Housing to the Pipes
Once the filter medium is in place, attach the filter housing to the inlet and outlet pipes. Use the appropriate pipe connectors and secure them firmly. Ensure that the connections are sealed with silicone or waterproof sealant to prevent any leaks.
Testing and Adjusting the Filter
After assembling the water filter, it is essential to test its efficiency and make any necessary adjustments.
Testing the Efficiency of the Filter
To test the filter, pour water into the inlet pipe and observe the flow of water coming out of the outlet pipe. Check for any signs of leakage and monitor the clarity of the filtered water. If the water flow is too slow or if impurities are still present, adjustments may be needed.
Adjusting the Filter for Optimum Performance
If the water flow is slow, try increasing the size of the inlet hole or adjusting the filter medium to optimize the flow rate. If there are still impurities in the filtered water, consider adding an additional layer of filter paper or fabric to improve the filtration efficiency.
Maintaining the DIY Water Filter
Regular maintenance is crucial to ensure the longevity and efficiency of your DIY water filter.
Regular Cleaning and Replacement
Periodically clean the filter housing, pipes, and filter medium to remove any accumulated dirt or debris. Rinse the filter medium under running water to remove any trapped particles. Depending on the filtration method used, you may need to replace the filter medium periodically to maintain optimum filtration performance.
Monitoring Filter Performance
Regularly monitor the performance of your DIY water filter. Observe the water flow rate and quality of the filtered water. If you notice a significant decrease in flow rate or a decline in water quality, it may be necessary to clean or replace the filter medium.
Troubleshooting Common Issues
While DIY water filters can be effective, they may encounter common issues that need troubleshooting.
Water Leakage
If you experience water leakage from the filter housing or pipe connections, ensure that all connections are tightly sealed with silicone or waterproof sealant. Check for any cracks or damage in the filter housing that may be causing the leakage. Make any necessary repairs or replacements to prevent water leakage.
Reduced Flow Rate
If the water flow rate decreases significantly, it may indicate a clogged filter medium. Remove the filter medium and rinse it thoroughly under running water to remove any trapped particles. If the flow rate does not improve, consider replacing the filter medium or adding an additional layer of filtration material.
Unpleasant Taste or Odor
If the filtered water has an unpleasant taste or odor, it may indicate the need for a replacement of the filter medium. Additionally, ensure that the filter medium is properly pre-treated and clean. If the taste or odor persists, consider using an additional layer of activated carbon to improve the water quality.
Conclusion
Creating your own DIY water filter can be a rewarding and cost-effective solution for obtaining clean and safe drinking water. By understanding the different filtration methods, preparing the filter medium correctly, constructing a sturdy filter housing, and regularly maintaining the filter, you can enjoy the benefits of a reliable water filtration system. Remember to troubleshoot any common issues that may arise and adjust the filter for optimum performance. Stay hydrated and enjoy the peace of mind that comes with knowing your water is safe to drink.
