Imagine the thrill of crafting your very own slingshot and being able to unleash its power with every shot. In this article, we will guide you through the simple yet satisfying process of creating your own DIY slingshot. From selecting the right materials to assembling the parts and perfecting your shooting technique, we’ve got you covered. Get ready to channel your inner adventurer and embark on a fun and fascinating journey into the world of slingshots. Let’s dive in and discover the steps to creating your very own DIY slingshot!
Materials Needed
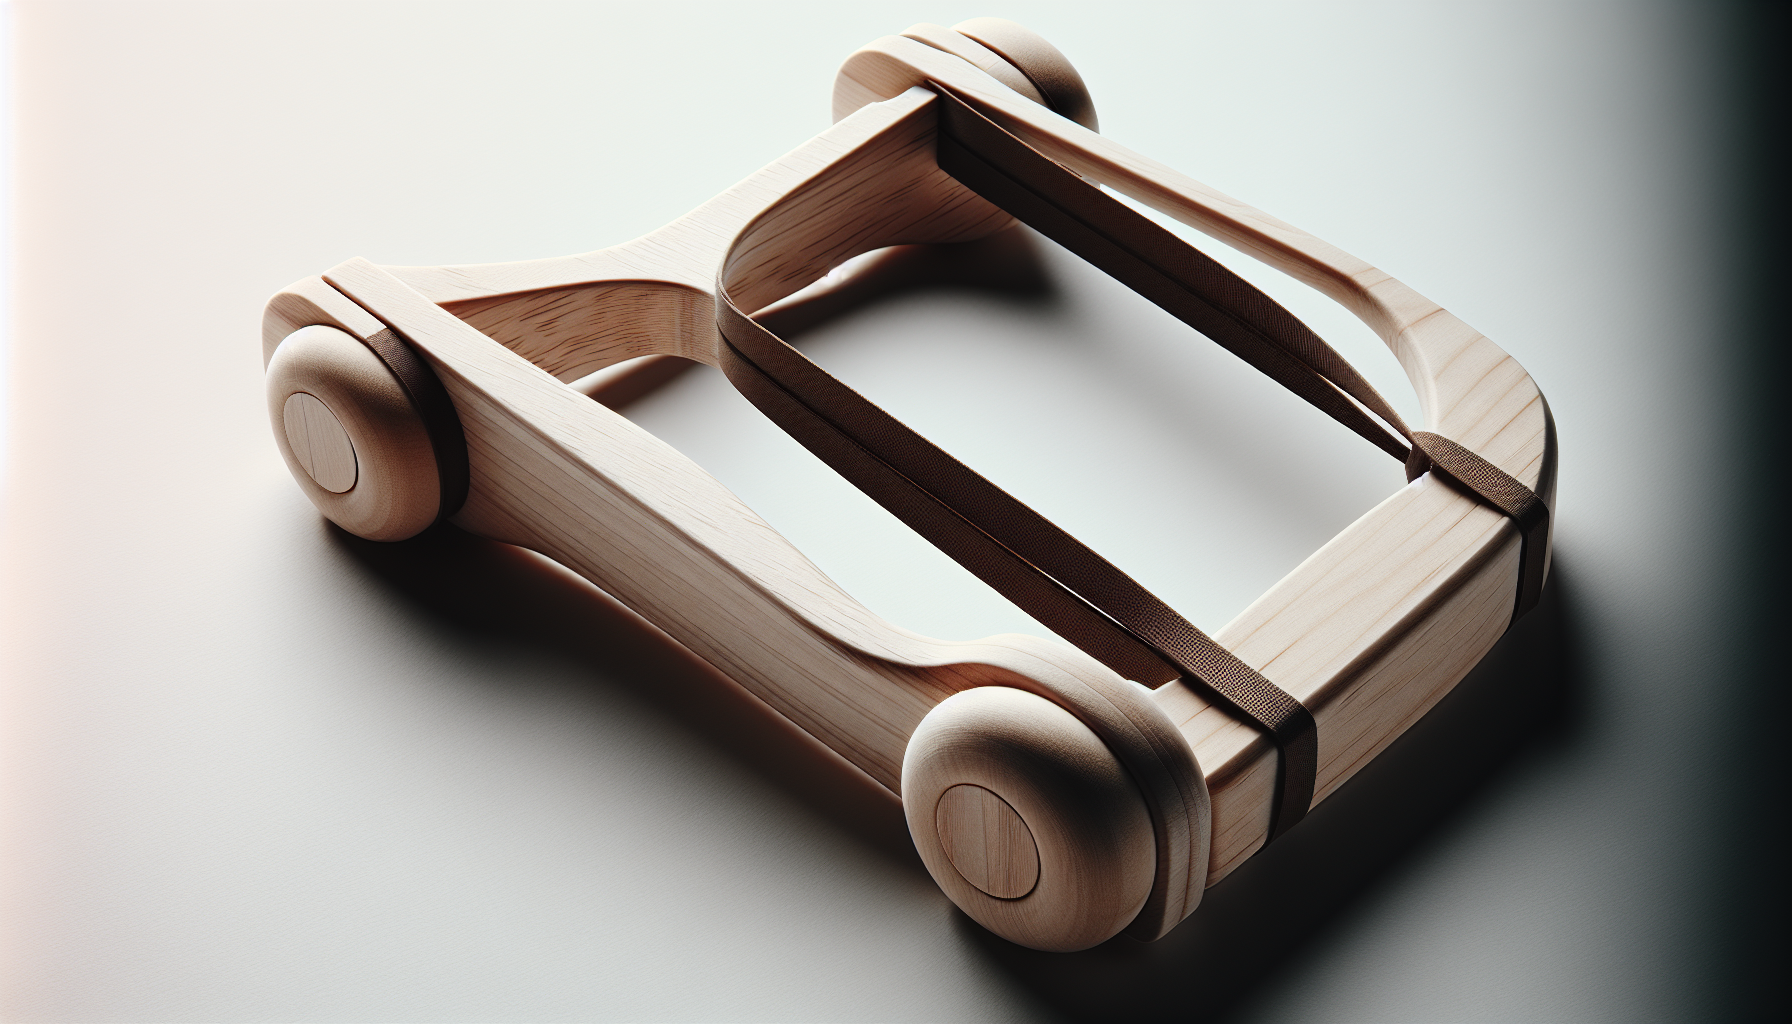
To make a DIY slingshot, you will need the following materials:
Wooden board
A wooden board will serve as the main component of the slingshot frame. Choose a board that is both durable and lightweight, such as birch or pine.
Rubber tubing
Rubber tubing will provide the tension needed to launch projectiles. Look for rubber tubing with a thickness that suits your preference and desired shooting power.
Cloth or leather for pouch
The pouch of the slingshot will hold the projectile before it is launched. You can use either cloth or leather for the pouch, depending on your preference and availability.
String or fishing line
String or fishing line will be used to attach the rubber tubing to the wooden frame and secure the pouch.
Scissors
Scissors will come in handy for cutting the materials, such as the rubber tubing and cloth or leather.
Drill
A drill will be used to create holes in the wooden board for attaching the rubber tubing.
Sandpaper
You will need sandpaper to smooth the edges of the wooden board and ensure a comfortable grip.
Measuring tape
A measuring tape will help you accurately measure and mark the dimensions for cutting the wood and other materials.
Marker or pencil
A marker or pencil will be used to mark the wood and other materials before cutting or drilling.
Saw
A saw is necessary for cutting the wooden board to the desired size and shape.
Now that you have gathered all the necessary materials, let’s move on to the next step: choosing the right wood.
Choosing the Right Wood
When it comes to making a DIY slingshot, selecting the right wood is crucial for both durability and functionality. Here are some guidelines to help you choose the right wood for your slingshot:
Selecting the wood type
Opt for a wood type that is strong, lightweight, and easily accessible. Good options include birch, pine, or any other type of hardwood that fits these criteria.
Wood dimensions
Consider the desired size and shape of your slingshot frame. Ensure that the wooden board is long and wide enough to accommodate your design.
Preparing the wooden board
Before using the wooden board, make sure to sand it down to remove any rough edges or splinters. This will not only improve the overall feel of the slingshot but also prevent any injuries when handling it.
Now that you have chosen the right wood and prepared the board, let’s move on to creating the slingshot frame.

Creating the Slingshot Frame
The slingshot frame serves as the foundation of your DIY slingshot. Follow these steps to create a sturdy and functional frame:
Cutting the wooden board
Using a saw, carefully cut the wooden board according to your desired dimensions. If you’re not sure about the ideal size, a standard slingshot frame is typically 6 to 8 inches long and 3 to 4 inches wide.
Sanding the edges
After cutting the wood, use sandpaper to smooth out the edges. This will help prevent any discomfort or injuries when using the slingshot.
Marking the center
Once the edges are sanded, make a mark at the center of the slingshot frame. This will serve as your reference point when attaching the rubber tubing.
Drilling holes for the tubing
Using a drill, create two evenly spaced holes at the top and bottom of the slingshot frame. These holes will be used to attach the rubber tubing later on. Make sure the holes are aligned with the center mark you made earlier.
With the slingshot frame complete, let’s move on to attaching the rubber tubing.
Attaching the Rubber Tubing
The rubber tubing provides the necessary tension to propel projectiles with your slingshot. Follow these steps to properly attach the rubber tubing:
Choosing the right tubing
Consider the thickness and elasticity of the rubber tubing. Thicker tubes generally provide more power but are harder to draw, while thinner tubes are easier to draw but may lack power. Select the tubing that best suits your preferences and shooting style.
Measuring and cutting the tubing
Measure and cut two equal lengths of rubber tubing. The length will depend on the size of your slingshot frame and your desired draw length. Make sure the tubing is long enough to be comfortably stretched between the holes in the frame.
Securing the tubing to the frame
Insert one end of each rubber tubing piece into the holes drilled in the slingshot frame. Secure the tubing by tying knots, using string or fishing line, at the end of each piece. Ensure that the tension in the tubing is evenly distributed and that it is tightly secured to the frame.
With the rubber tubing attached, let’s move on to making the pouch.

Making the Pouch
The pouch is where the projectile will reside before being launched. Follow these steps to create a sturdy and reliable pouch:
Choosing the material for the pouch
Decide whether you want to use cloth or leather for your pouch. Both materials work well, so choose the one that suits your style and availability.
Cutting the cloth or leather
Using scissors, cut a rectangular piece of cloth or leather. The size of the rectangle should be approximately twice the width and length you desire for your pouch. Remember to leave extra material for folding and stitching.
Shaping the pouch
Fold the rectangular piece of cloth or leather in half lengthwise and stitch the sides together, leaving the top open. You can use either a sewing machine or hand stitching.
Attaching the pouch to the frame
Position the folded and stitched pouch at the center of the slingshot frame, with the open end facing downward. Secure the pouch to the frame by tying string or fishing line tightly around the pouch and frame, ensuring that it is centered.
Now that the pouch is attached, let’s add a handle for better control and accuracy.
Adding a Handle
A handle provides a comfortable grip and helps improve control while using the slingshot. Follow these steps to add a handle to your DIY slingshot:
Determining the handle length
Measure and mark the desired length for your handle on the wooden board. The length typically ranges from 4 to 6 inches, depending on personal preference and hand size.
Cutting the handle piece
Using a saw, carefully cut the handle piece from the remaining wooden board. Make sure the width of the handle matches your grip comfortably.
Sanding and shaping the handle
After cutting the handle piece, use sandpaper to smooth out any rough edges. Shape the handle to ensure a comfortable grip, rounding the edges if desired.
Attaching the handle to the frame
Position the handle piece from the slingshot frame where it feels most comfortable in your hand. Secure the handle to the frame using string or fishing line, tightly tying it at both ends.
With the handle attached, let’s move on to adding the finishing touches to your DIY slingshot.
Finishing Touches
To enhance the appearance and durability of your DIY slingshot, follow these final steps:
Sanding the entire slingshot
Use sandpaper to smooth out any rough edges or surfaces on the slingshot. This will make it more comfortable to hold and prevent any potential injuries.
Adding a protective finish
Consider applying a protective finish, such as varnish or paint, to the wooden components of the slingshot. This will help protect the wood from moisture and ensure its longevity.
Testing the slingshot
Before anything else, make sure to test your slingshot in a safe and open area. Start with small objects and gradually increase the size and weight of the projectiles. This will allow you to get accustomed to the slingshot and assess its accuracy and shooting power.
Now that your DIY slingshot is complete, it’s important to keep safety in mind. Let’s take a look at some safety tips for using your slingshot responsibly.
Safety Tips
When using a slingshot, it’s crucial to prioritize safety at all times. Here are some important safety tips to keep in mind:
Wearing eye protection
Always wear appropriate eye protection when using a slingshot. This will protect your eyes from any potential rebounds or ricochets.
Using caution when handling the slingshot
Handle the slingshot with care, ensuring that your fingers are never in the path of the rubber tubing. Be mindful of any potential snapbacks that may occur when stretching the tubing.
Never aiming at people or animals
Never aim your slingshot at people, animals, or any other living creatures. Always respect the safety and well-being of others.
Practicing in a safe and open area
Only use your slingshot in a safe and open area, such as a shooting range or an open field. Ensure that there is no risk of hitting unintended targets or causing property damage.
Now that you’re familiar with the safety guidelines, let’s explore some alternative materials and different types of slingshots you can experiment with.
Alternative Materials
If you don’t have access to wood or rubber tubing, don’t worry! There are alternative materials you can use to make a slingshot:
Using PVC pipes instead of wood
If you don’t have a wooden board, PVC pipes can be an excellent alternative. Cut and shape the PVC pipes to the desired dimensions and follow the same steps outlined earlier.
Substituting rubber bands for tubing
If rubber tubing is not available, you can use rubber bands instead. Simply loop and secure rubber bands to the slingshot frame, ensuring that they provide enough tension for accurate shooting.
With alternative materials in mind, let’s briefly explore different types of slingshots you can consider.
Different Types of Slingshots
Slingshots come in various designs, each offering unique advantages and shooting styles. Here are a few popular types you can explore:
Wrist rocket slingshots
Wrist rocket slingshots, also known as folding slingshots, are compact and portable. They often feature a wrist support, providing better stability and accuracy.
Traditional Y-shaped slingshots
Y-shaped slingshots are the most common type and offer a good balance of power and control. They are easy to make and provide a comfortable grip.
Tube or pipe slingshots
Tube or pipe slingshots are made using PVC pipes or metal tubes. They are known for their impressive power and long-distance shooting capabilities.
Now that you have a comprehensive understanding of how to make a DIY slingshot, it’s time to gather the materials, follow the steps, and embark on this enjoyable and rewarding project. Remember to prioritize safety, respect local laws and regulations, and always use your slingshot responsibly. Happy shooting!